Filing a protest from Westminster Bridge, without a laptop
The screenshots on this site are not a demo. They come from one real job: a Ukrainian Unity Day demonstration on Westminster Bridge. This is how that take went from the card in my camera to the people who needed it, on the iPhone in my pocket.
Why the laptop had to go
I photograph protests and live music in London. For years the end of a job looked the same: find somewhere to sit, open the laptop, copy the card, cull in one app, caption in another, then upload with a third. On a bridge, in a crowd, that is the worst part of the day. The phone in my pocket is faster than that laptop was a few years ago, so I built the filing desk into it.
1. Take only the keepers off the card
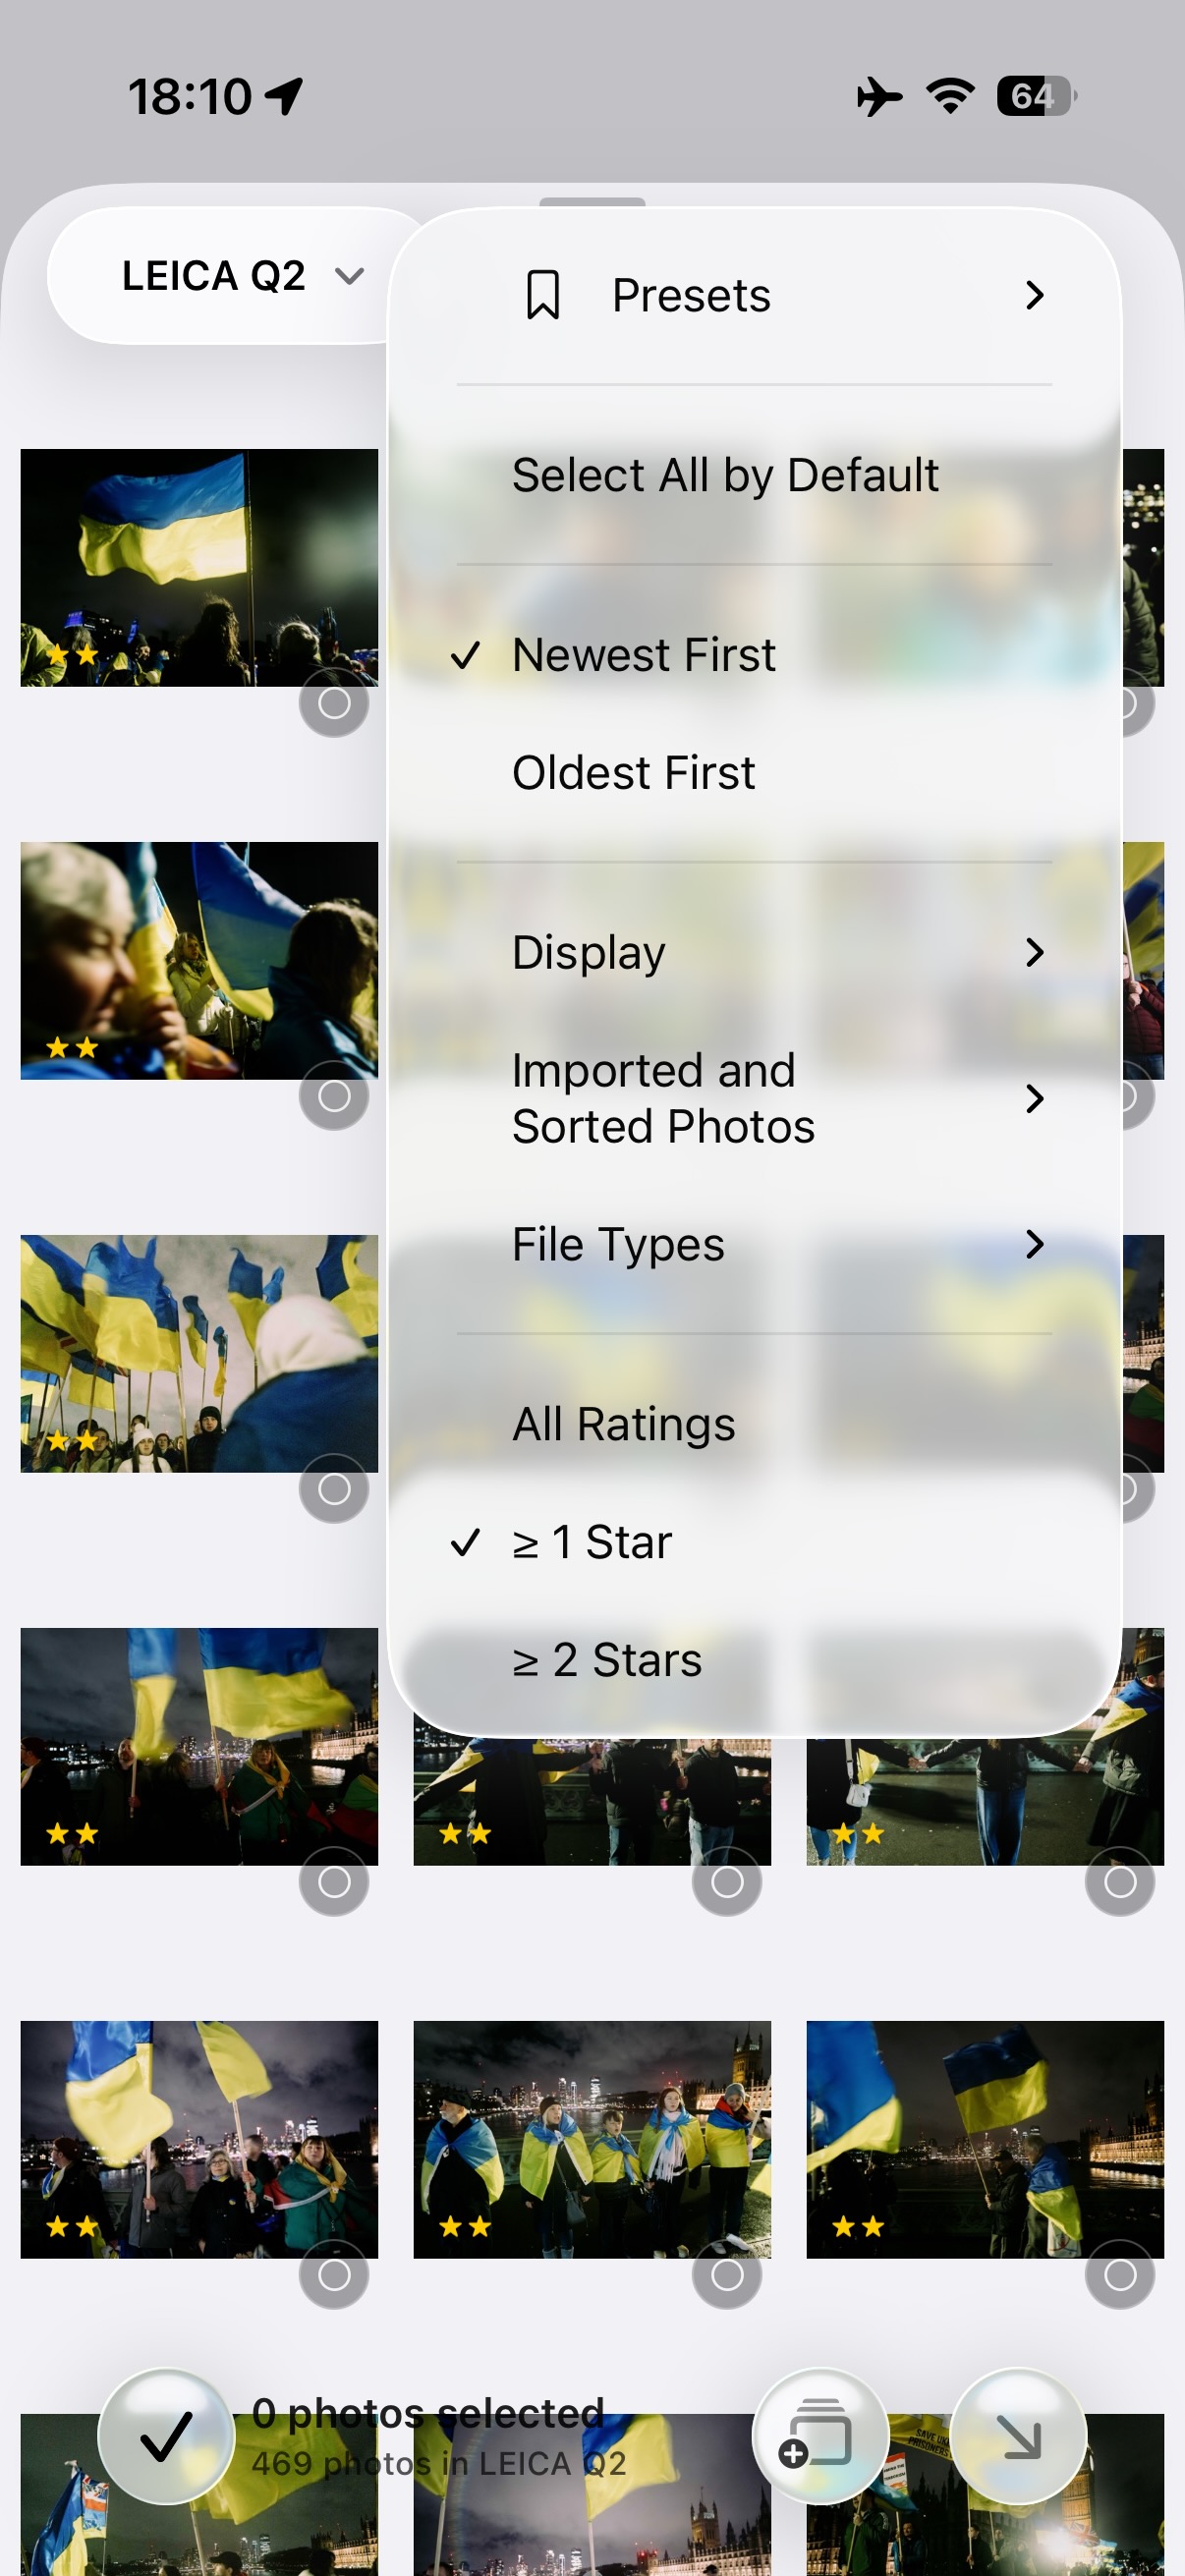
I rate frames on the camera as I go. With the card reader plugged into the iPhone, I filtered the import to rated frames only, so the phone never filled up with the hundreds of frames I already knew I would not send. RAW files come across with their JPEGs, and the originals are never altered.
2. Make it one event
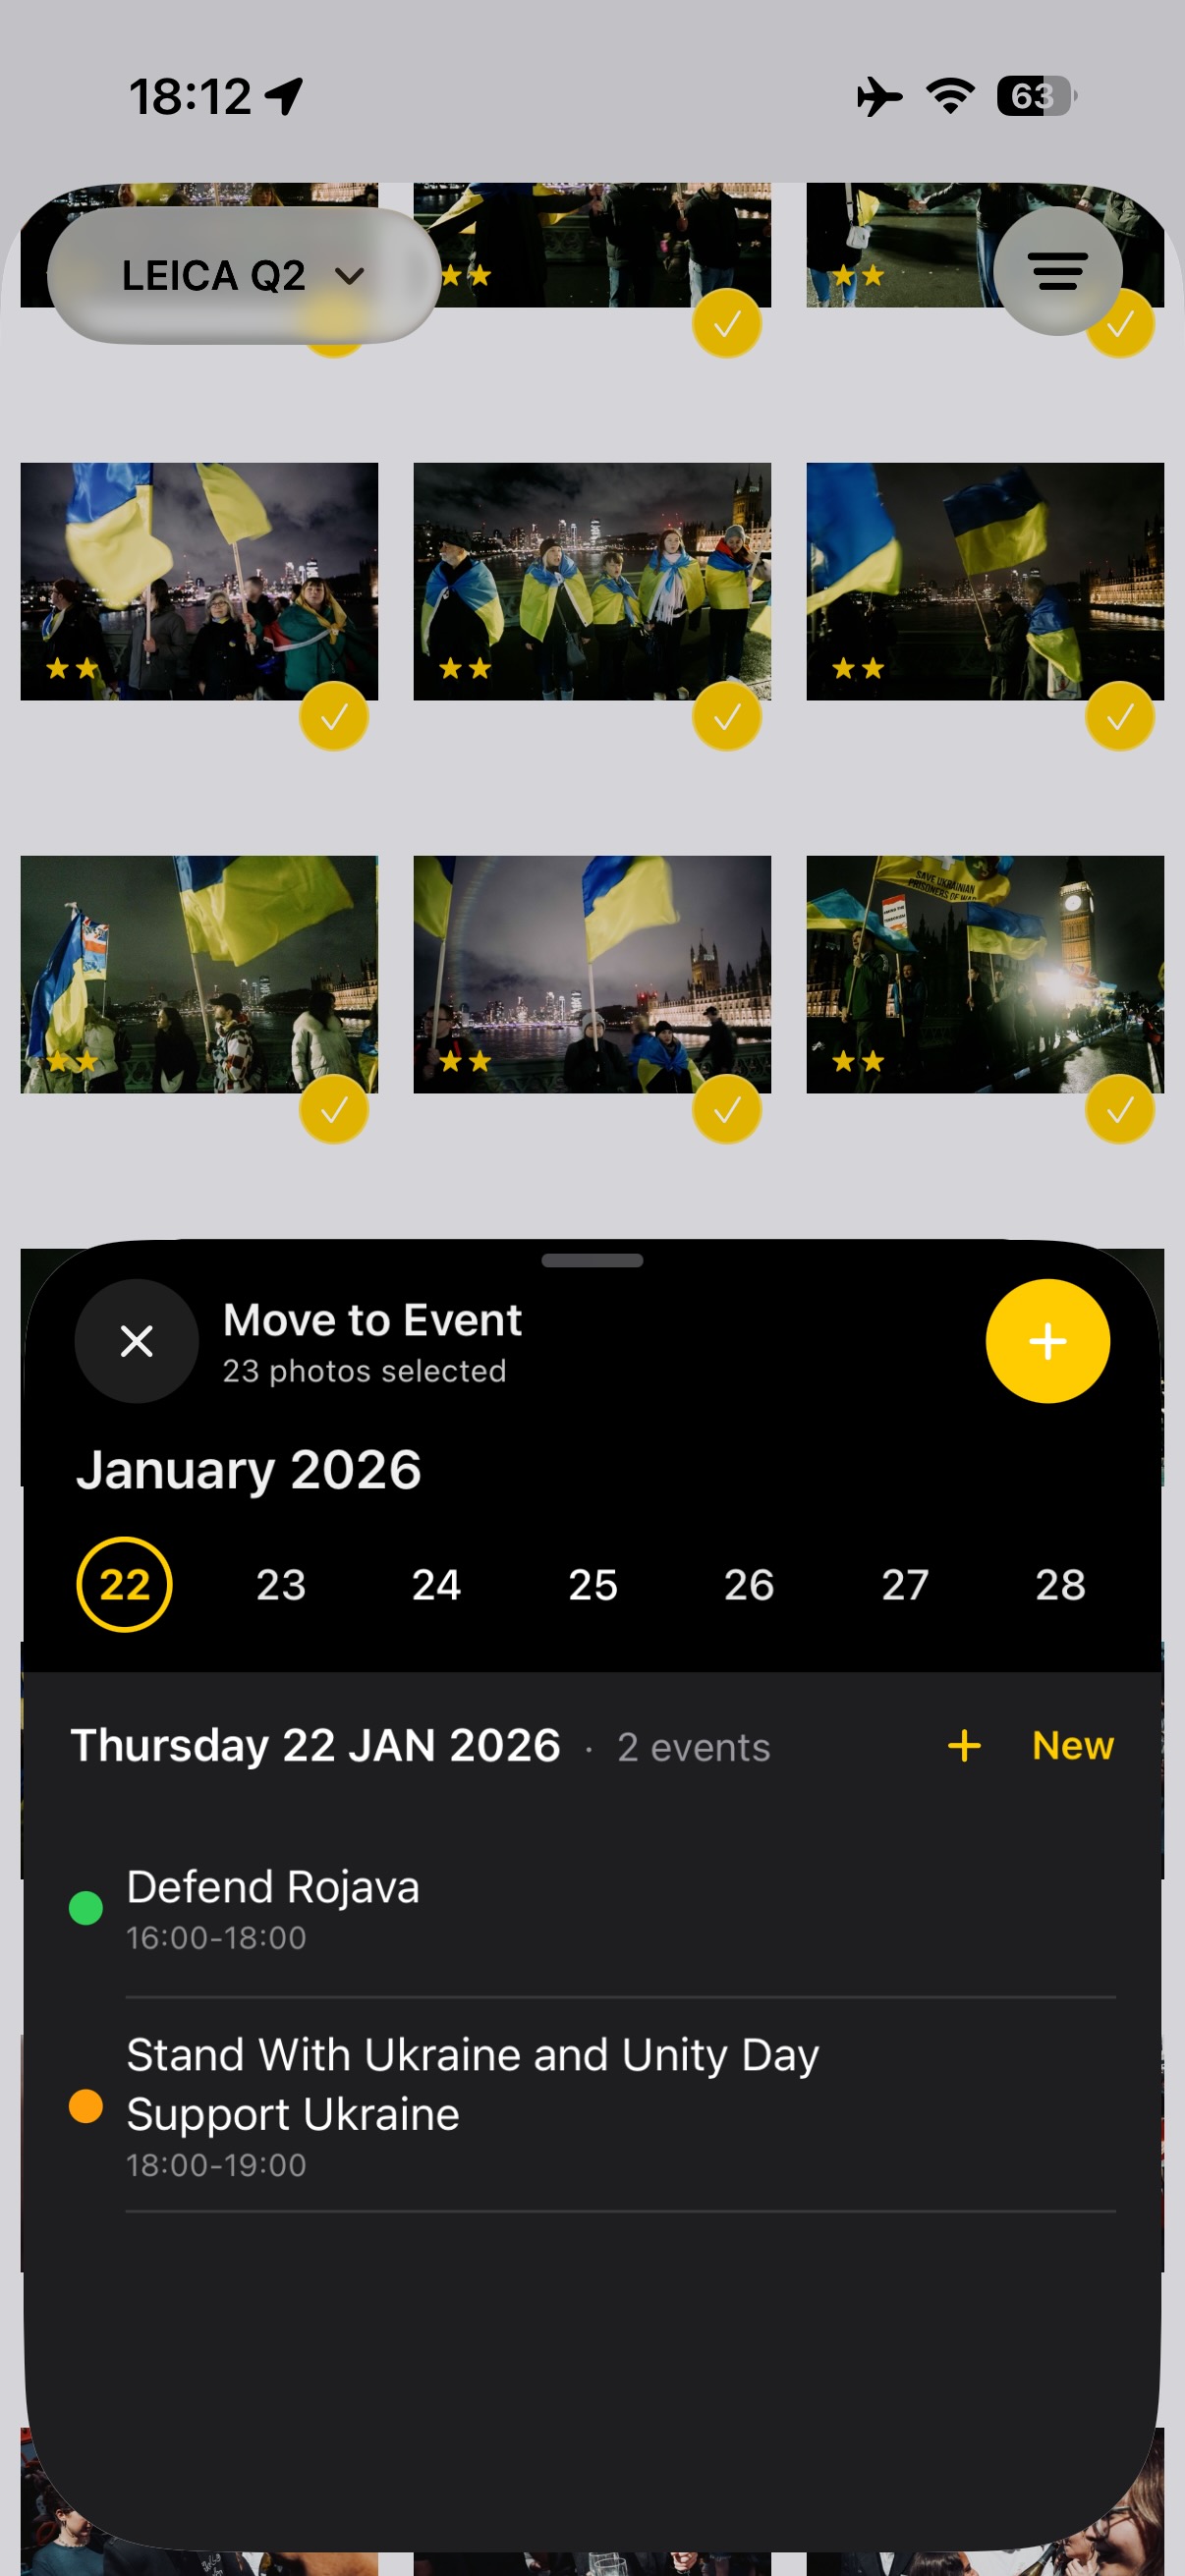
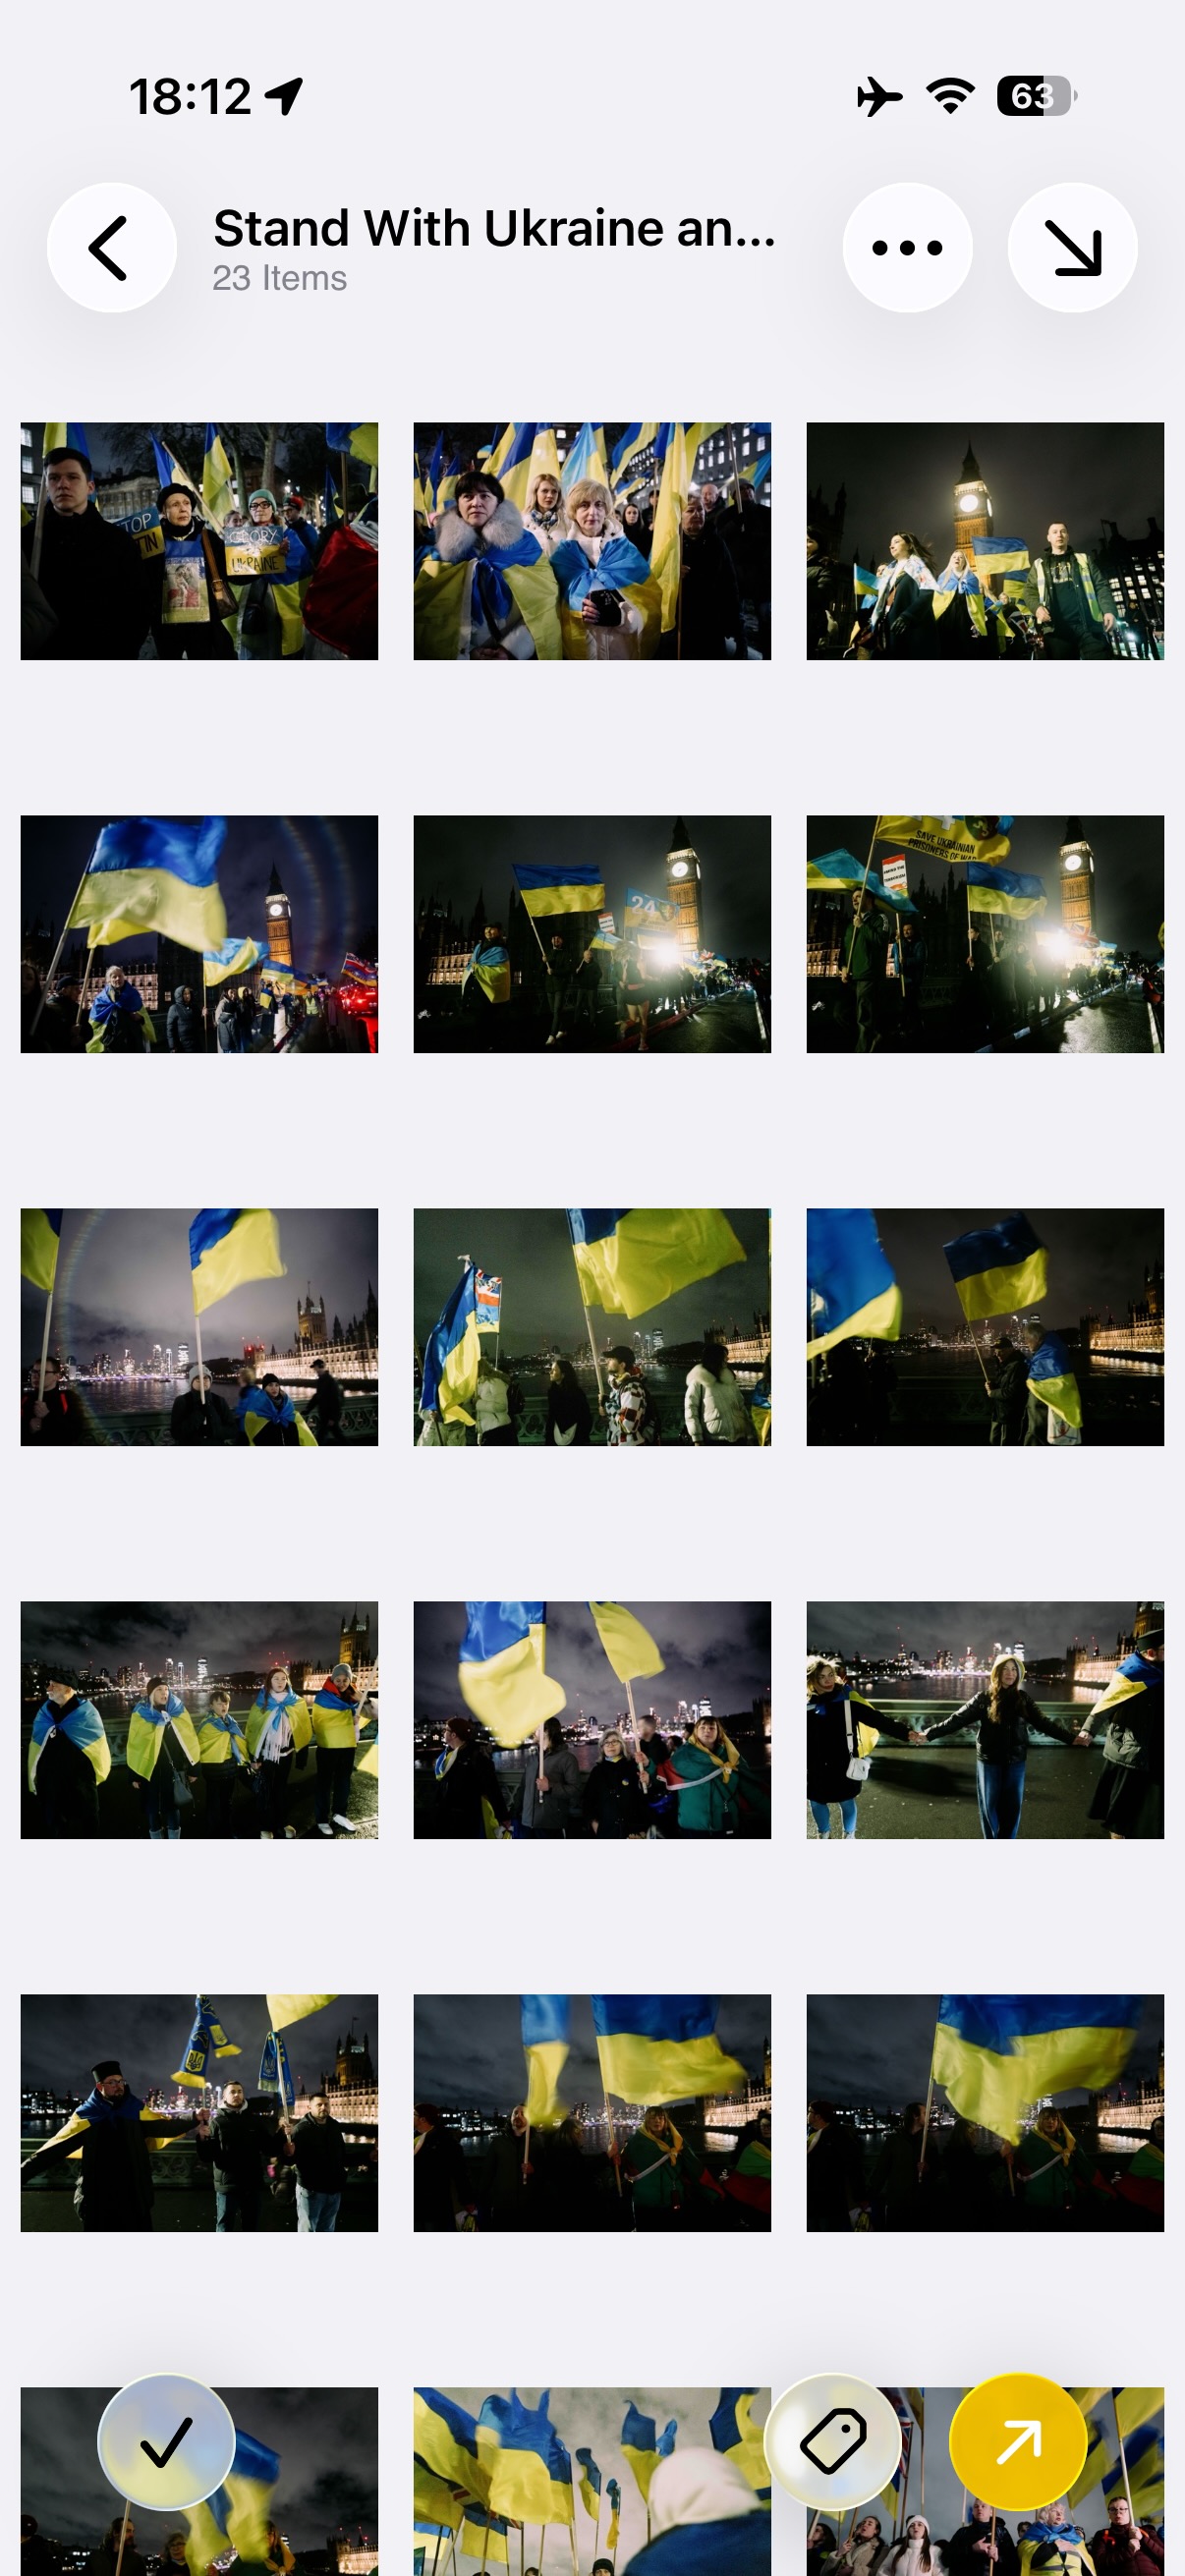
The frames went into a single event, so everything I did next applied to the whole take at once instead of photo by photo.
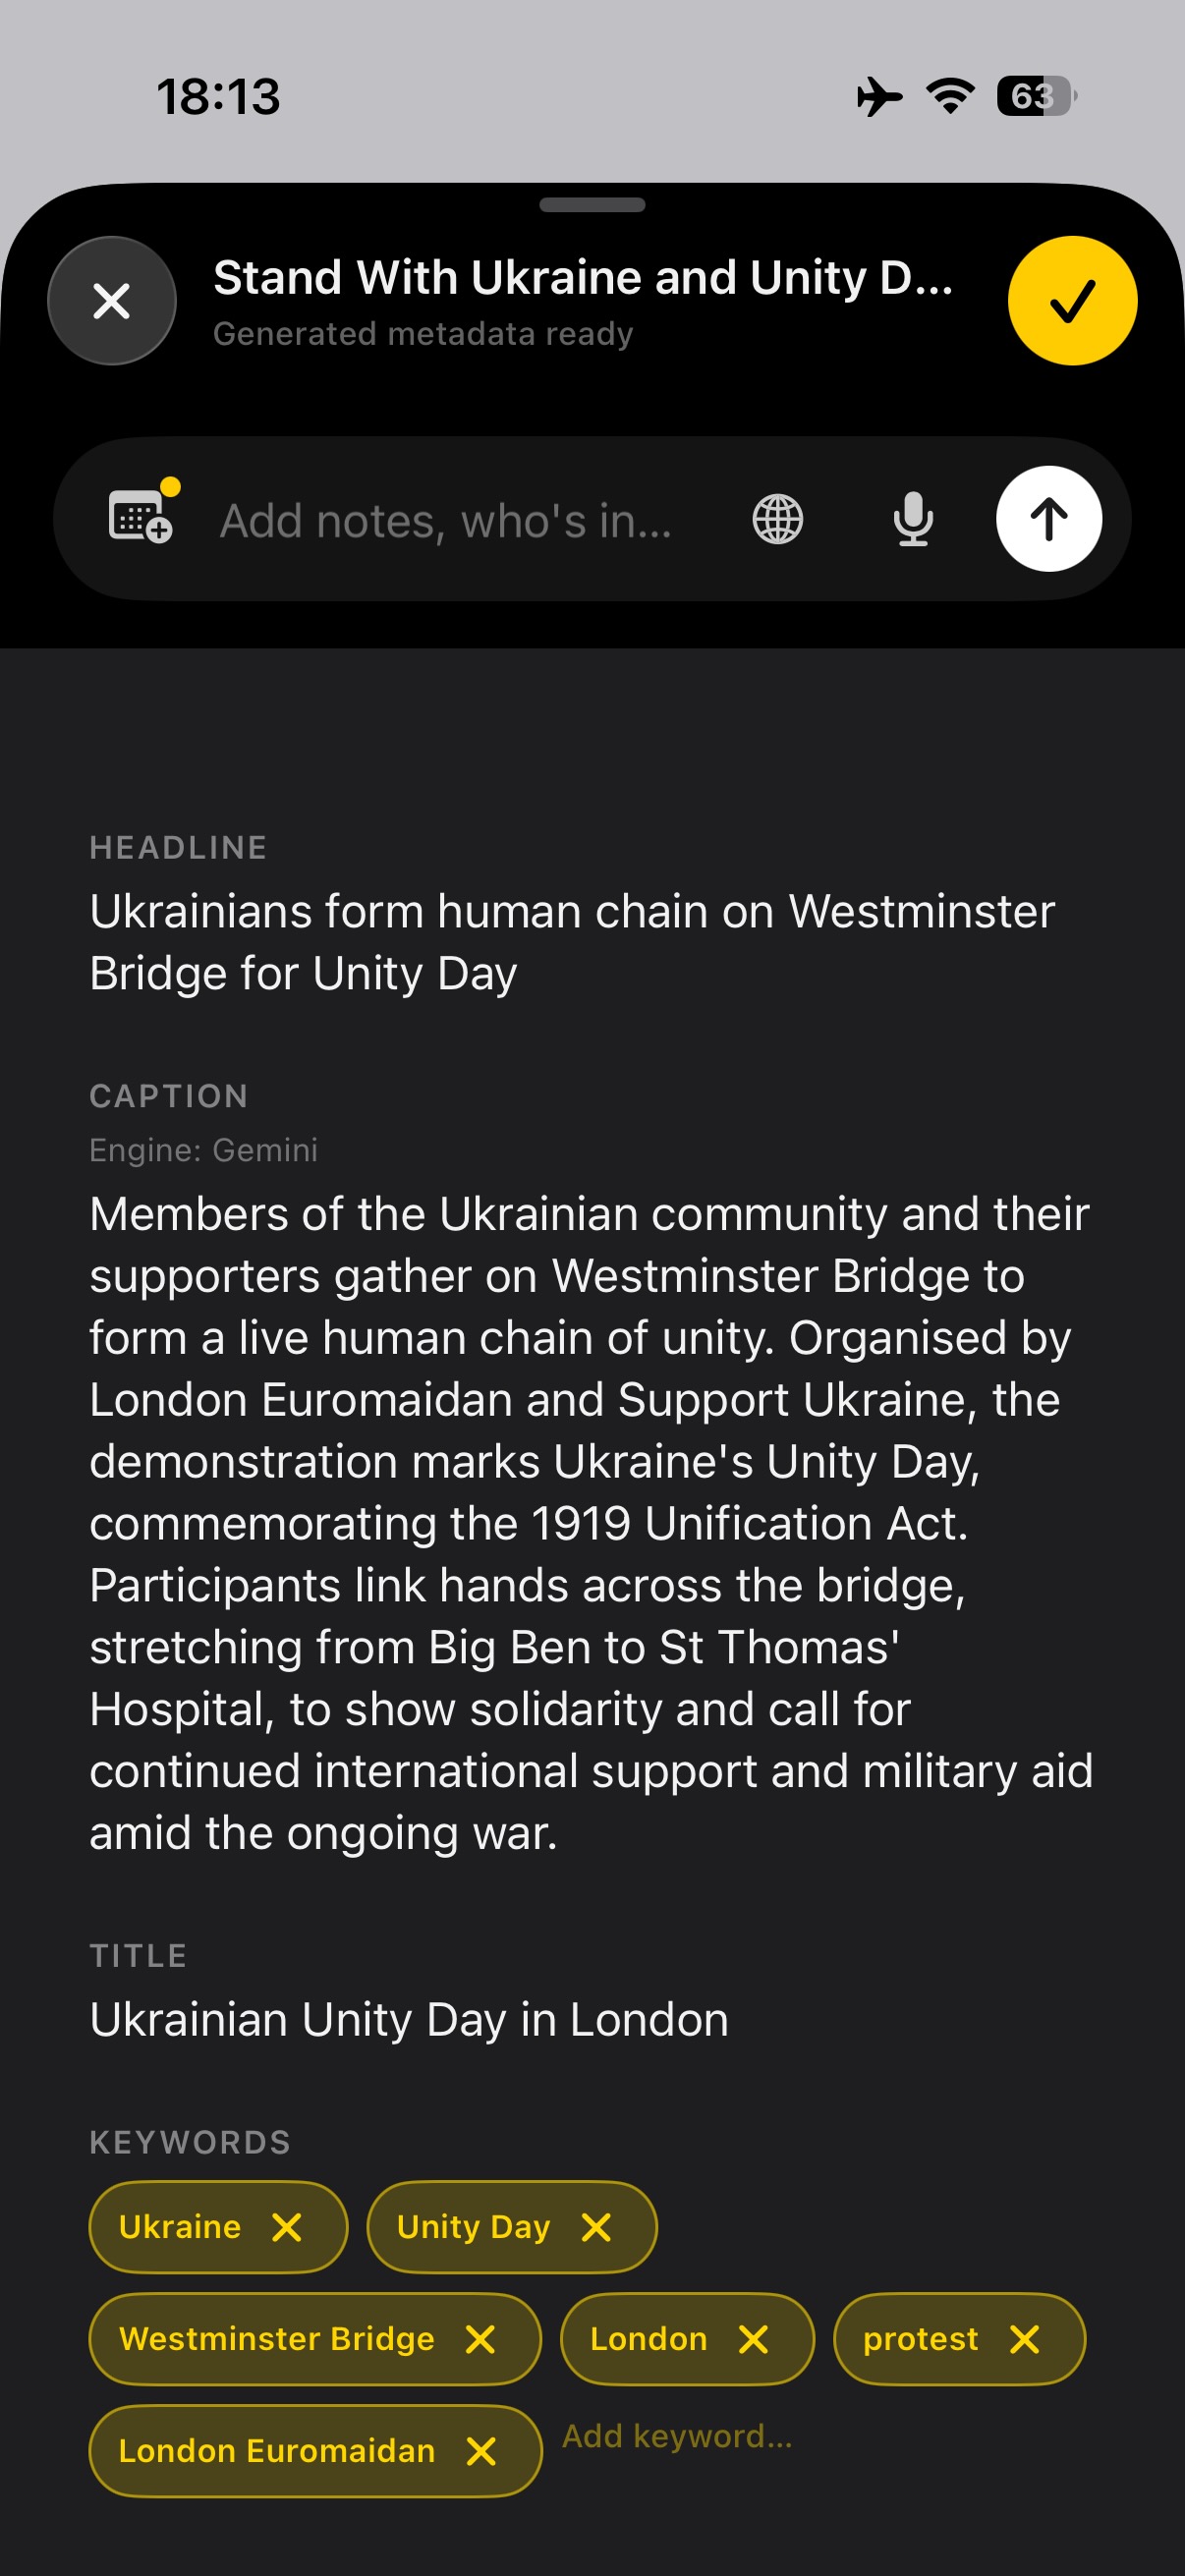
3. Write the brief once, caption everything
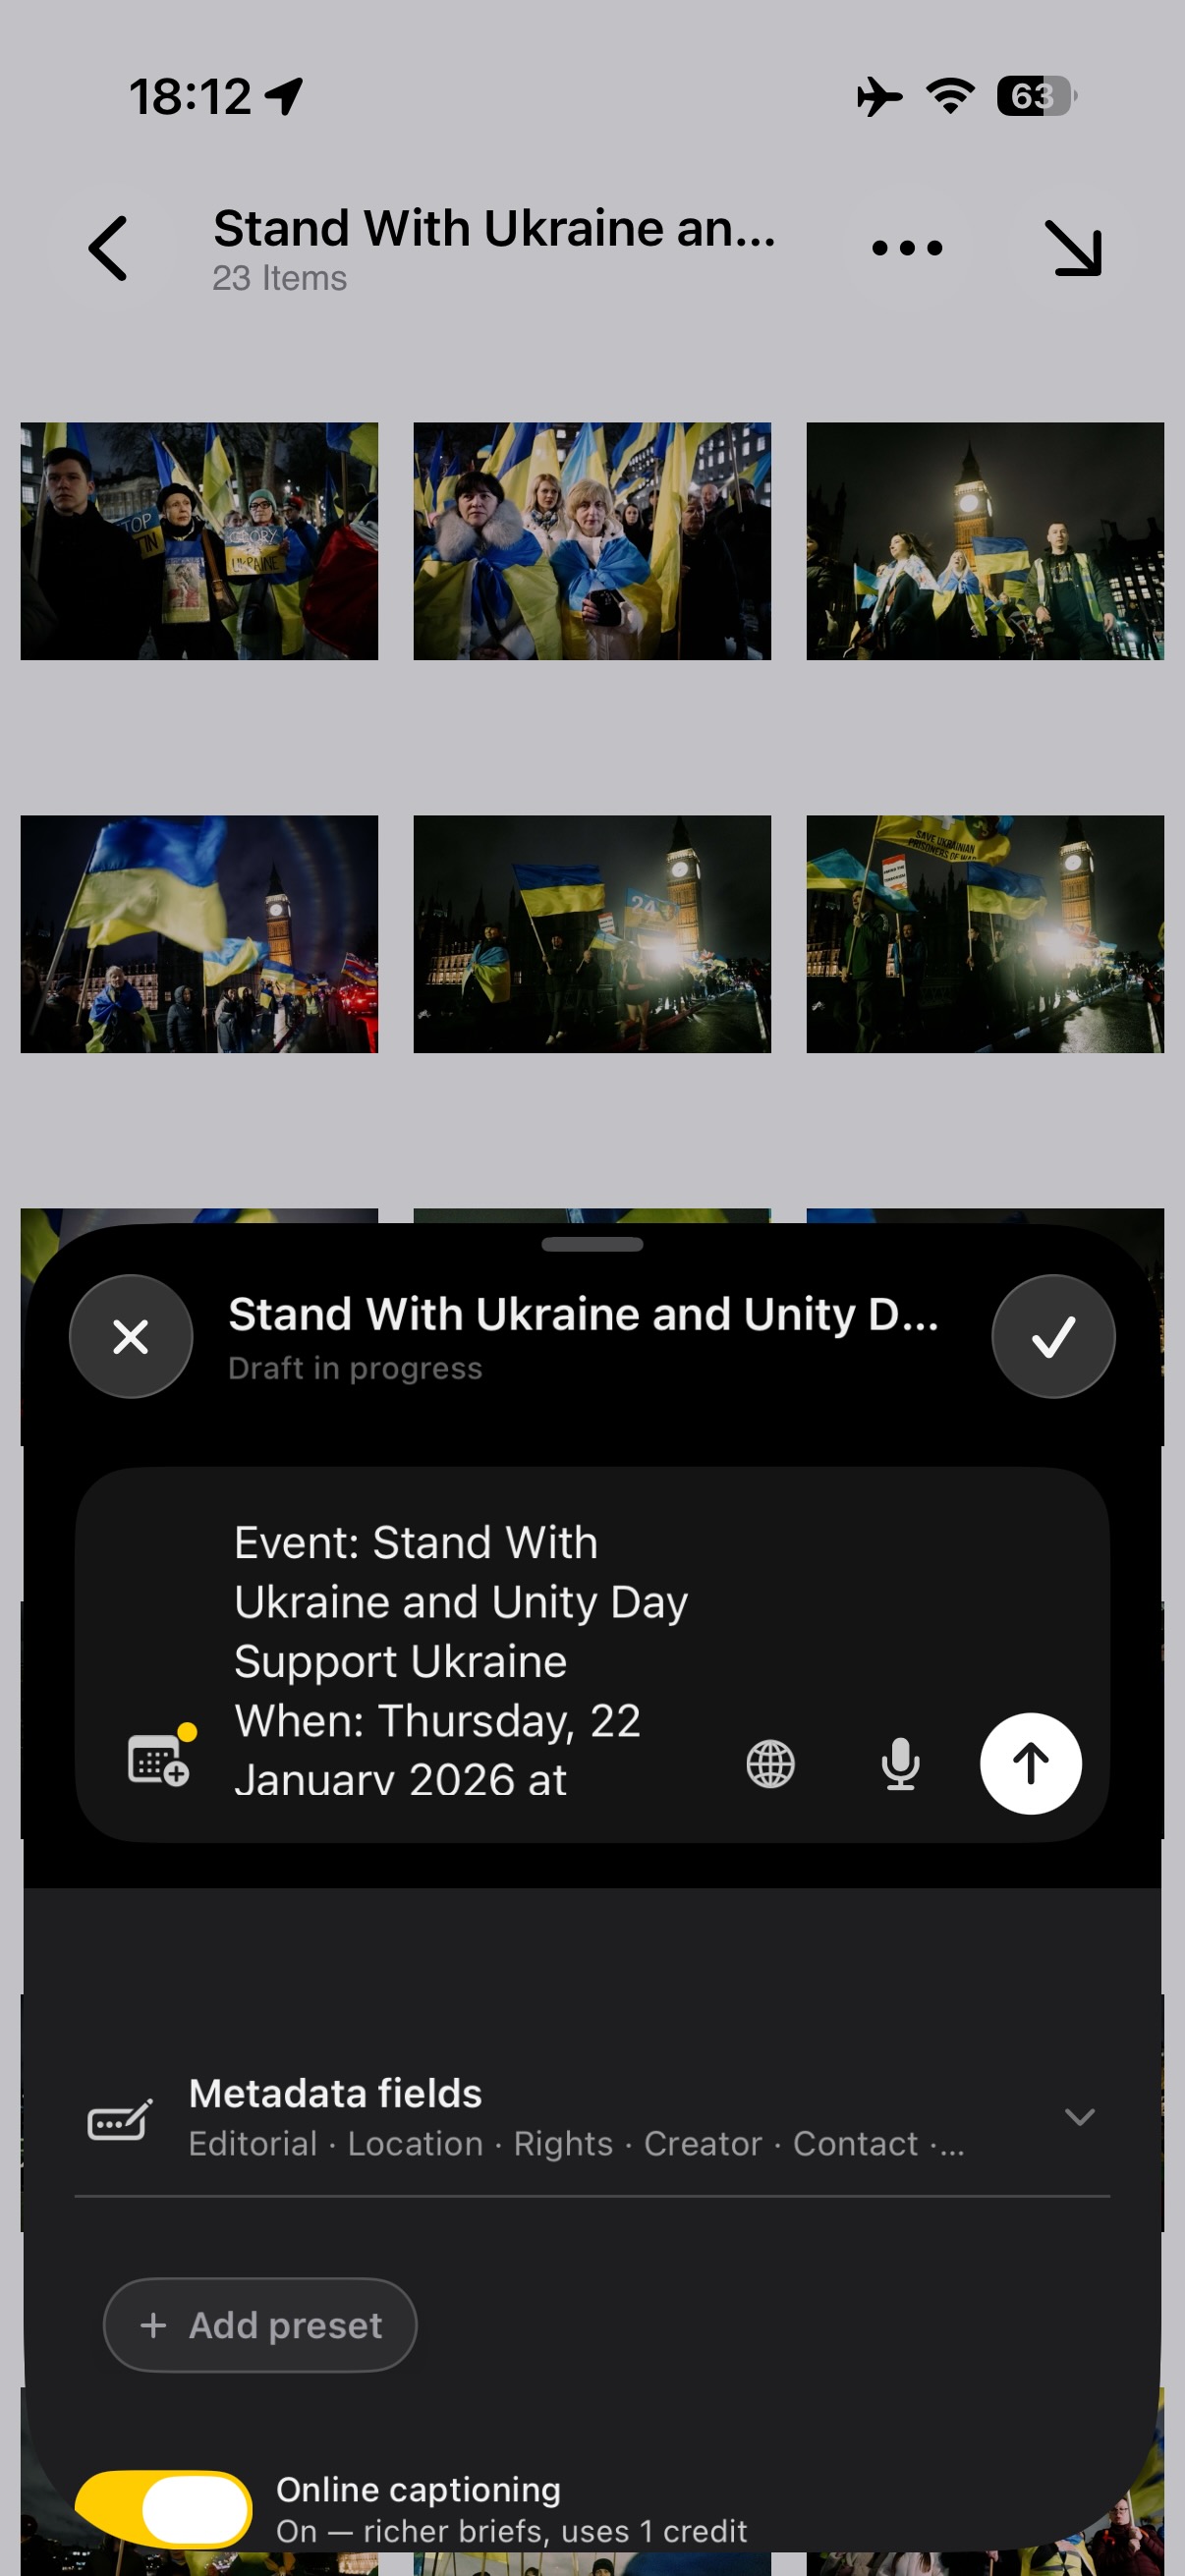
I wrote a short brief: who, what, where, when, and the one thing an editor needs to know. Dispatches turned that into a headline, caption and keywords in IPTC fields, along with my saved byline, credit and copyright. I read every field before it went, and changed what I wanted. The online captioning is off unless you switch it on, and even then only the brief, the place and the time leave the phone. Never the photos.
4. Rate, tag and edit before it goes
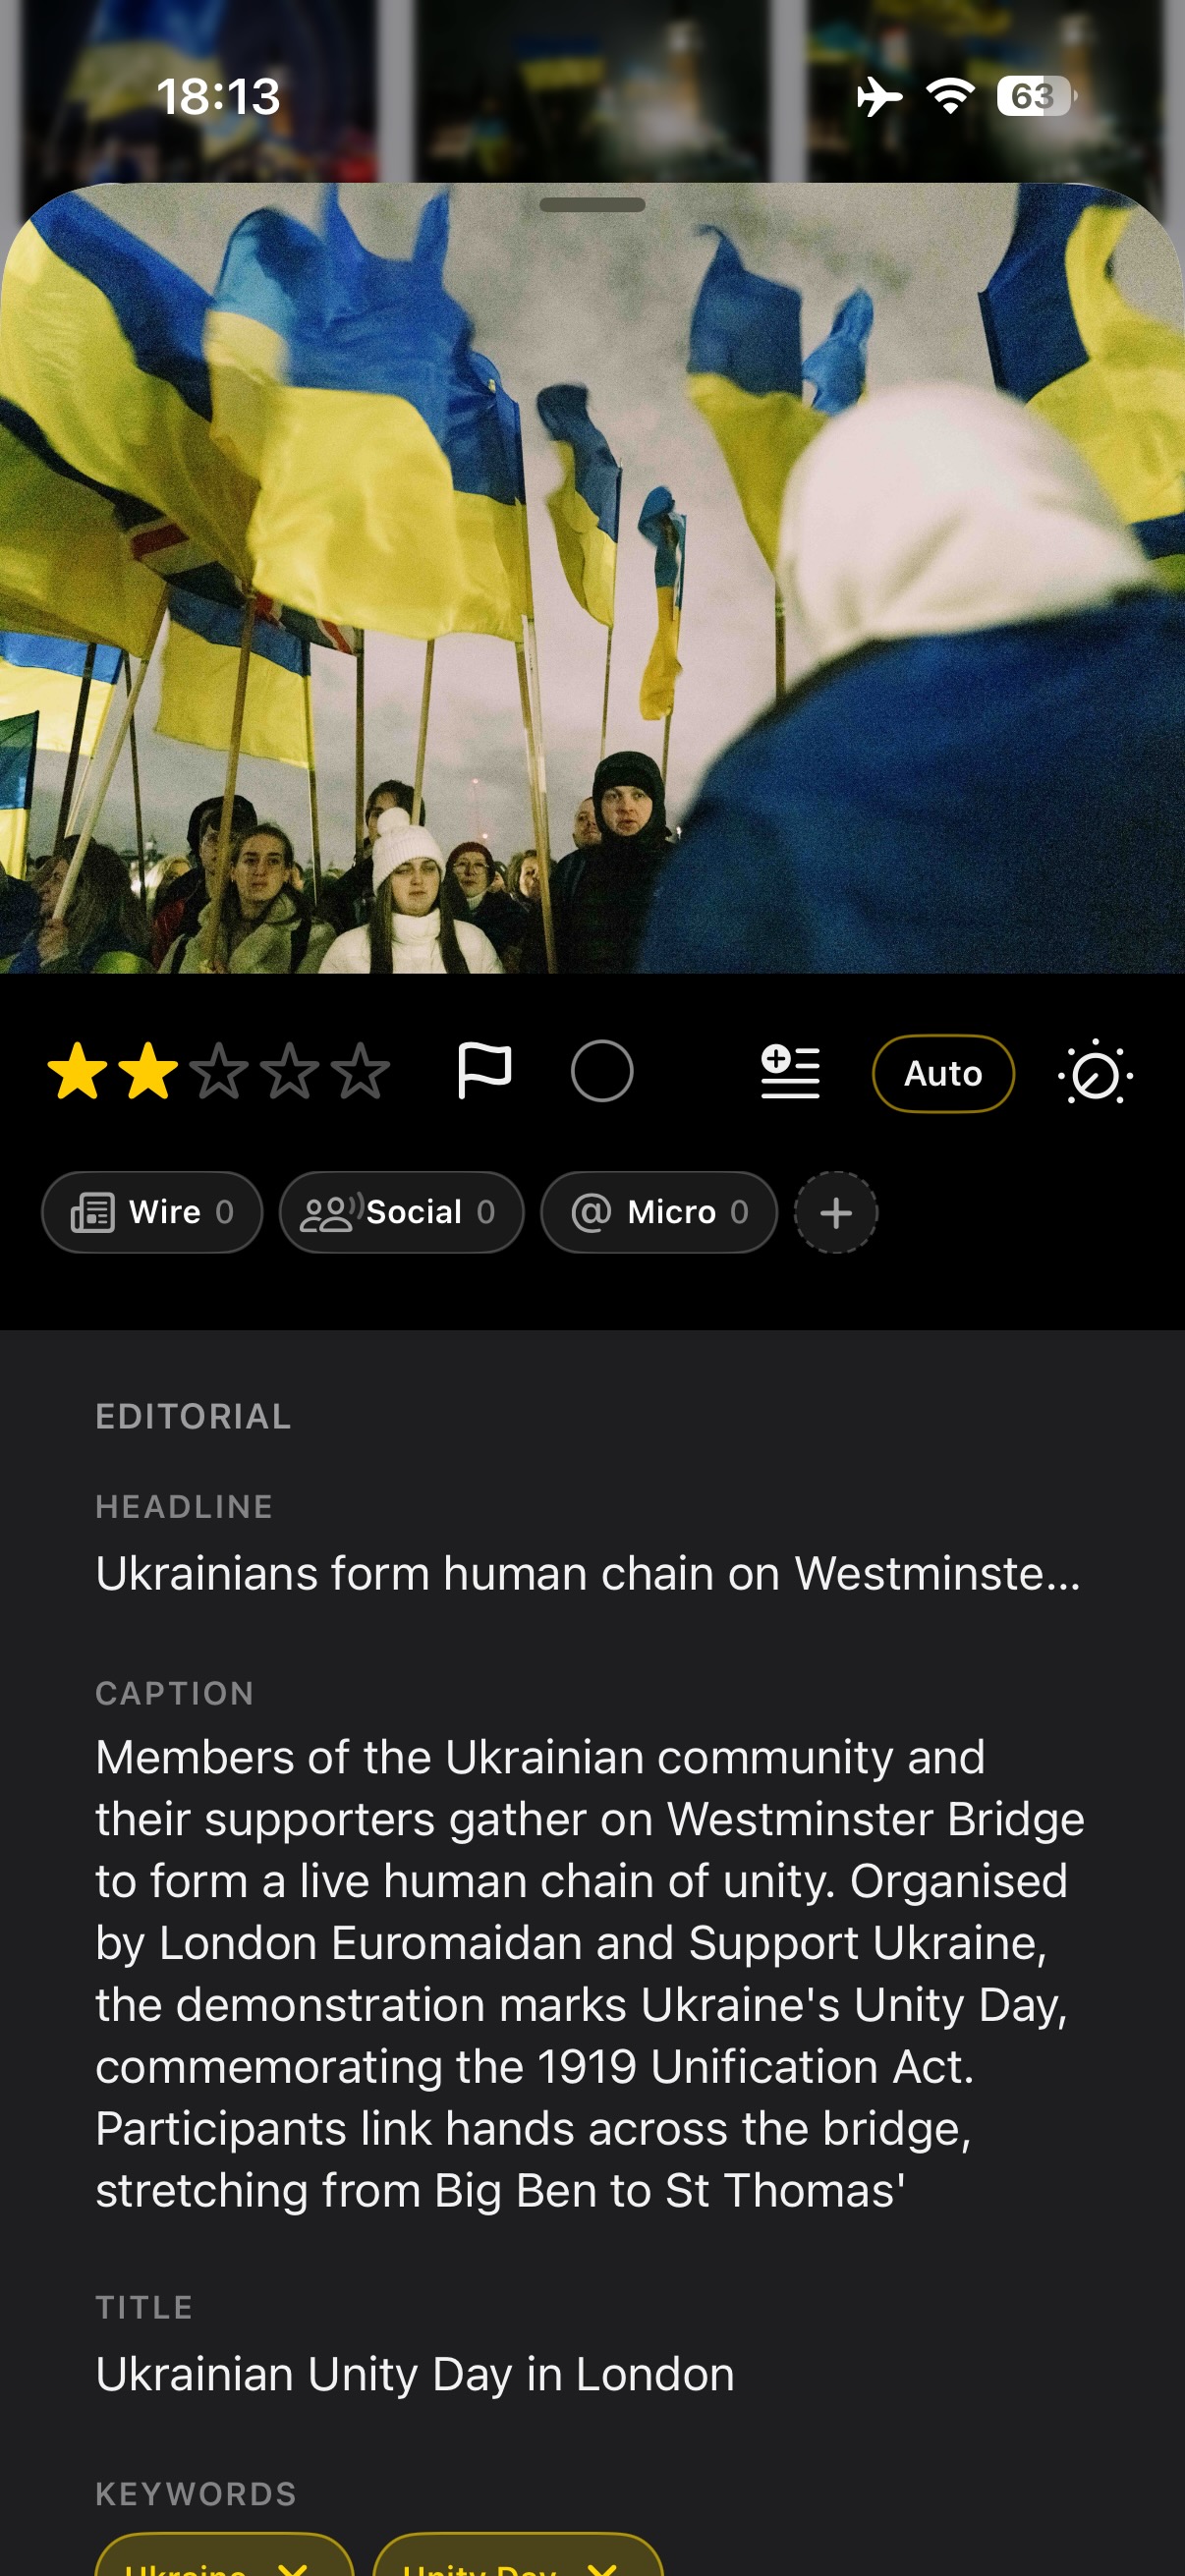
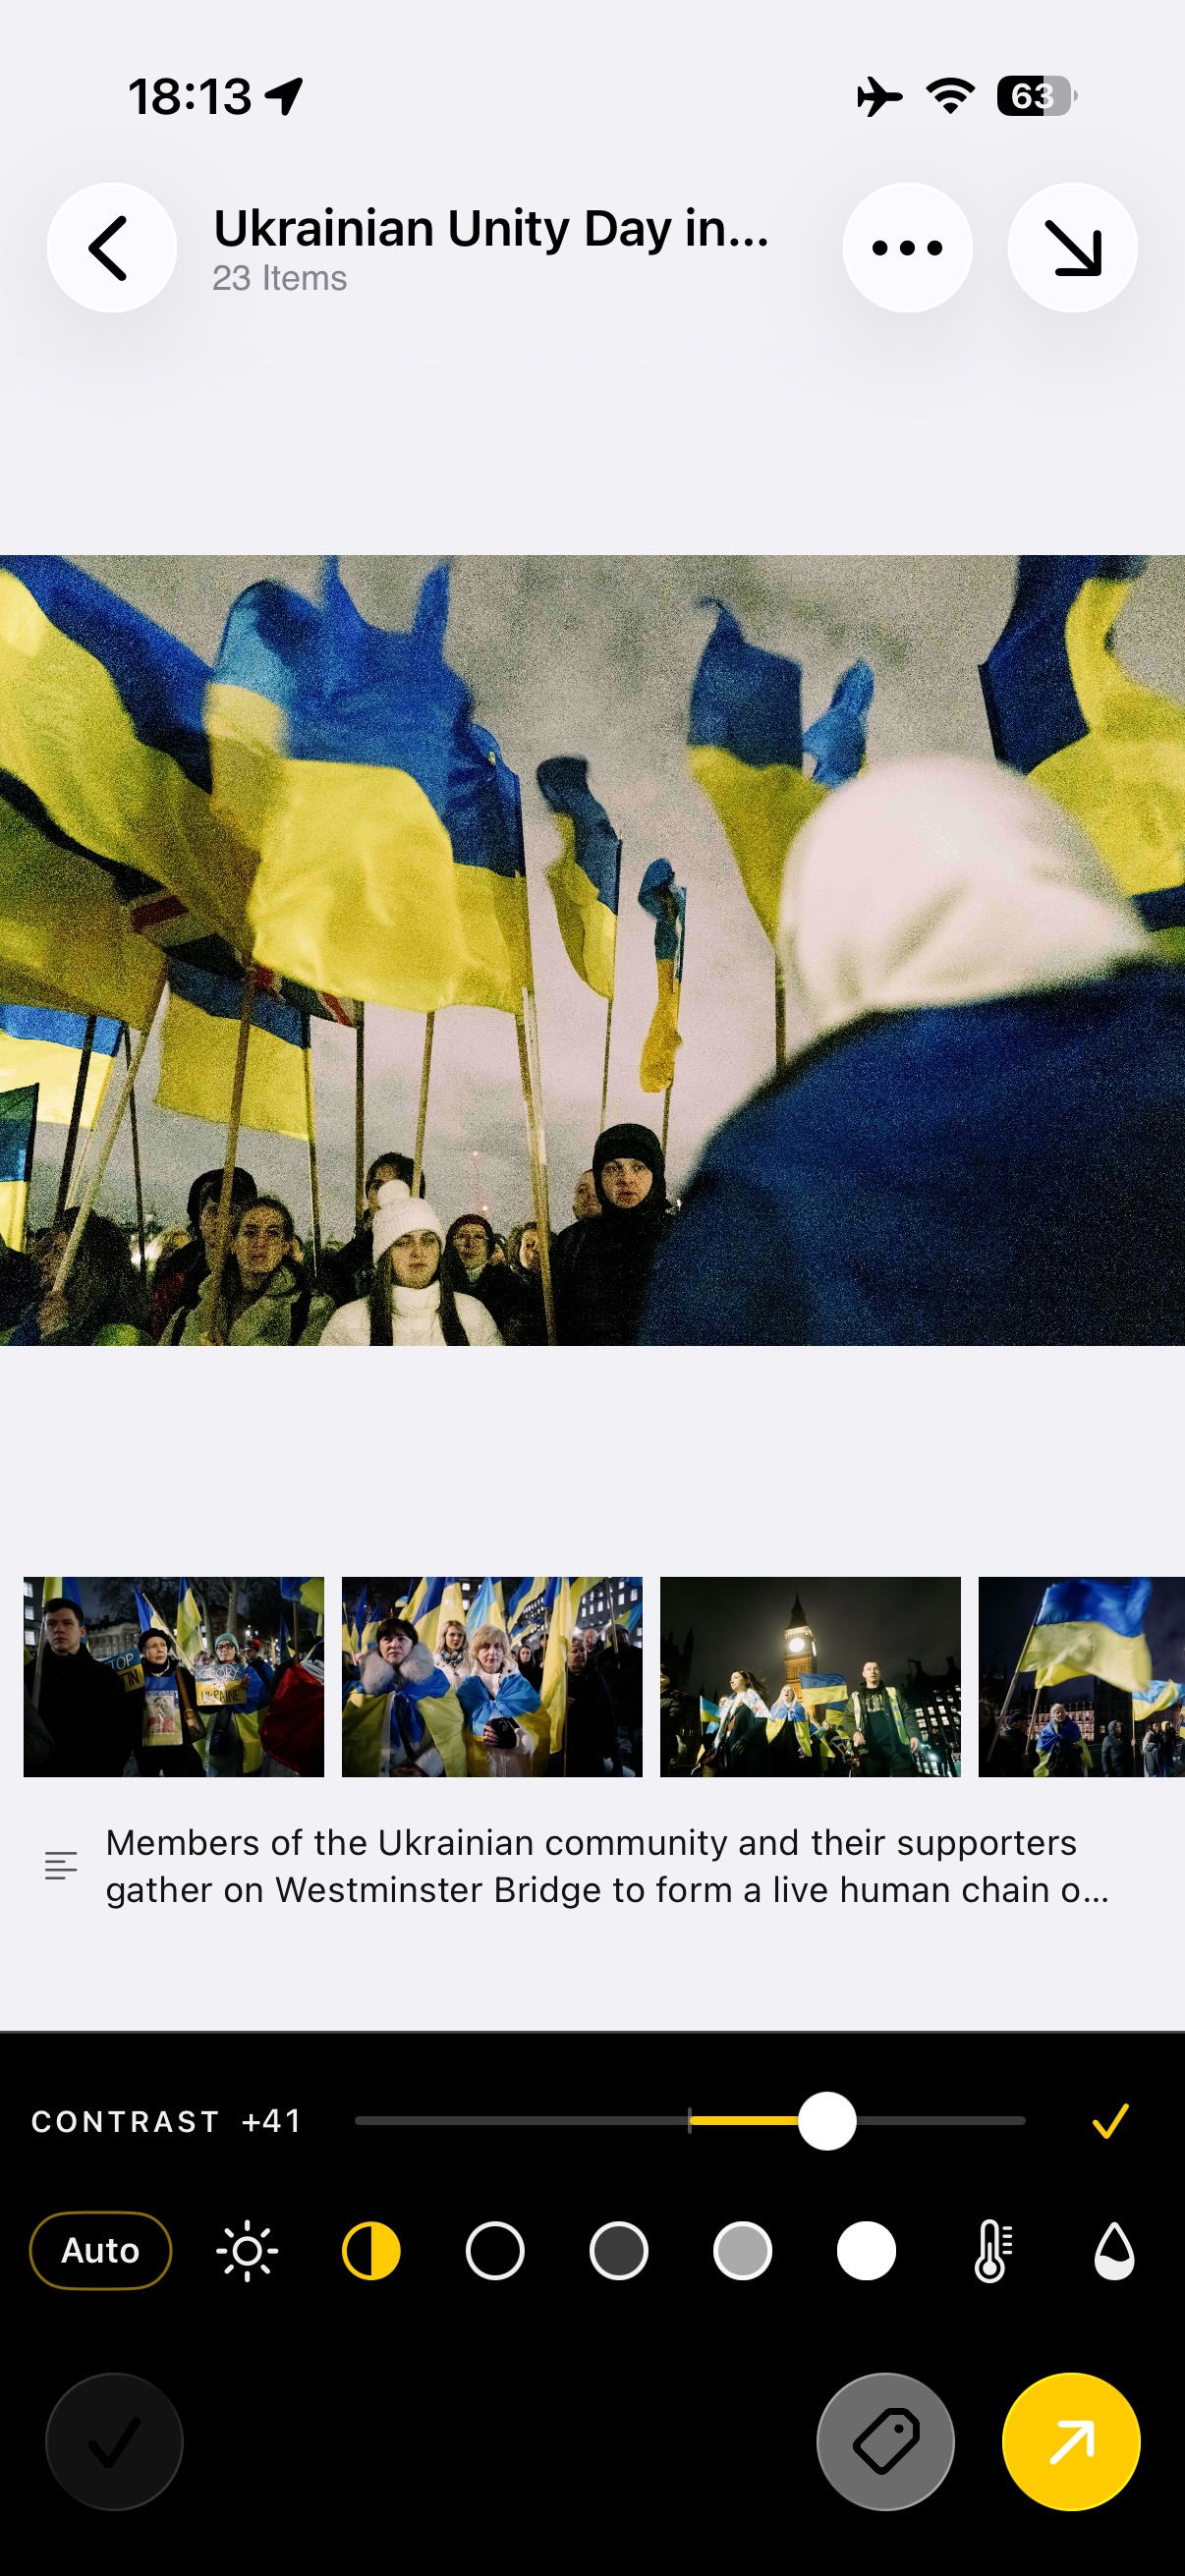
Not every frame goes everywhere. I tagged each one by where it was headed: the wire, social, or both. Then I adjusted the frames that needed it, contrast on this one, right there on the phone, RAW files included.
5. Send it, and know it landed
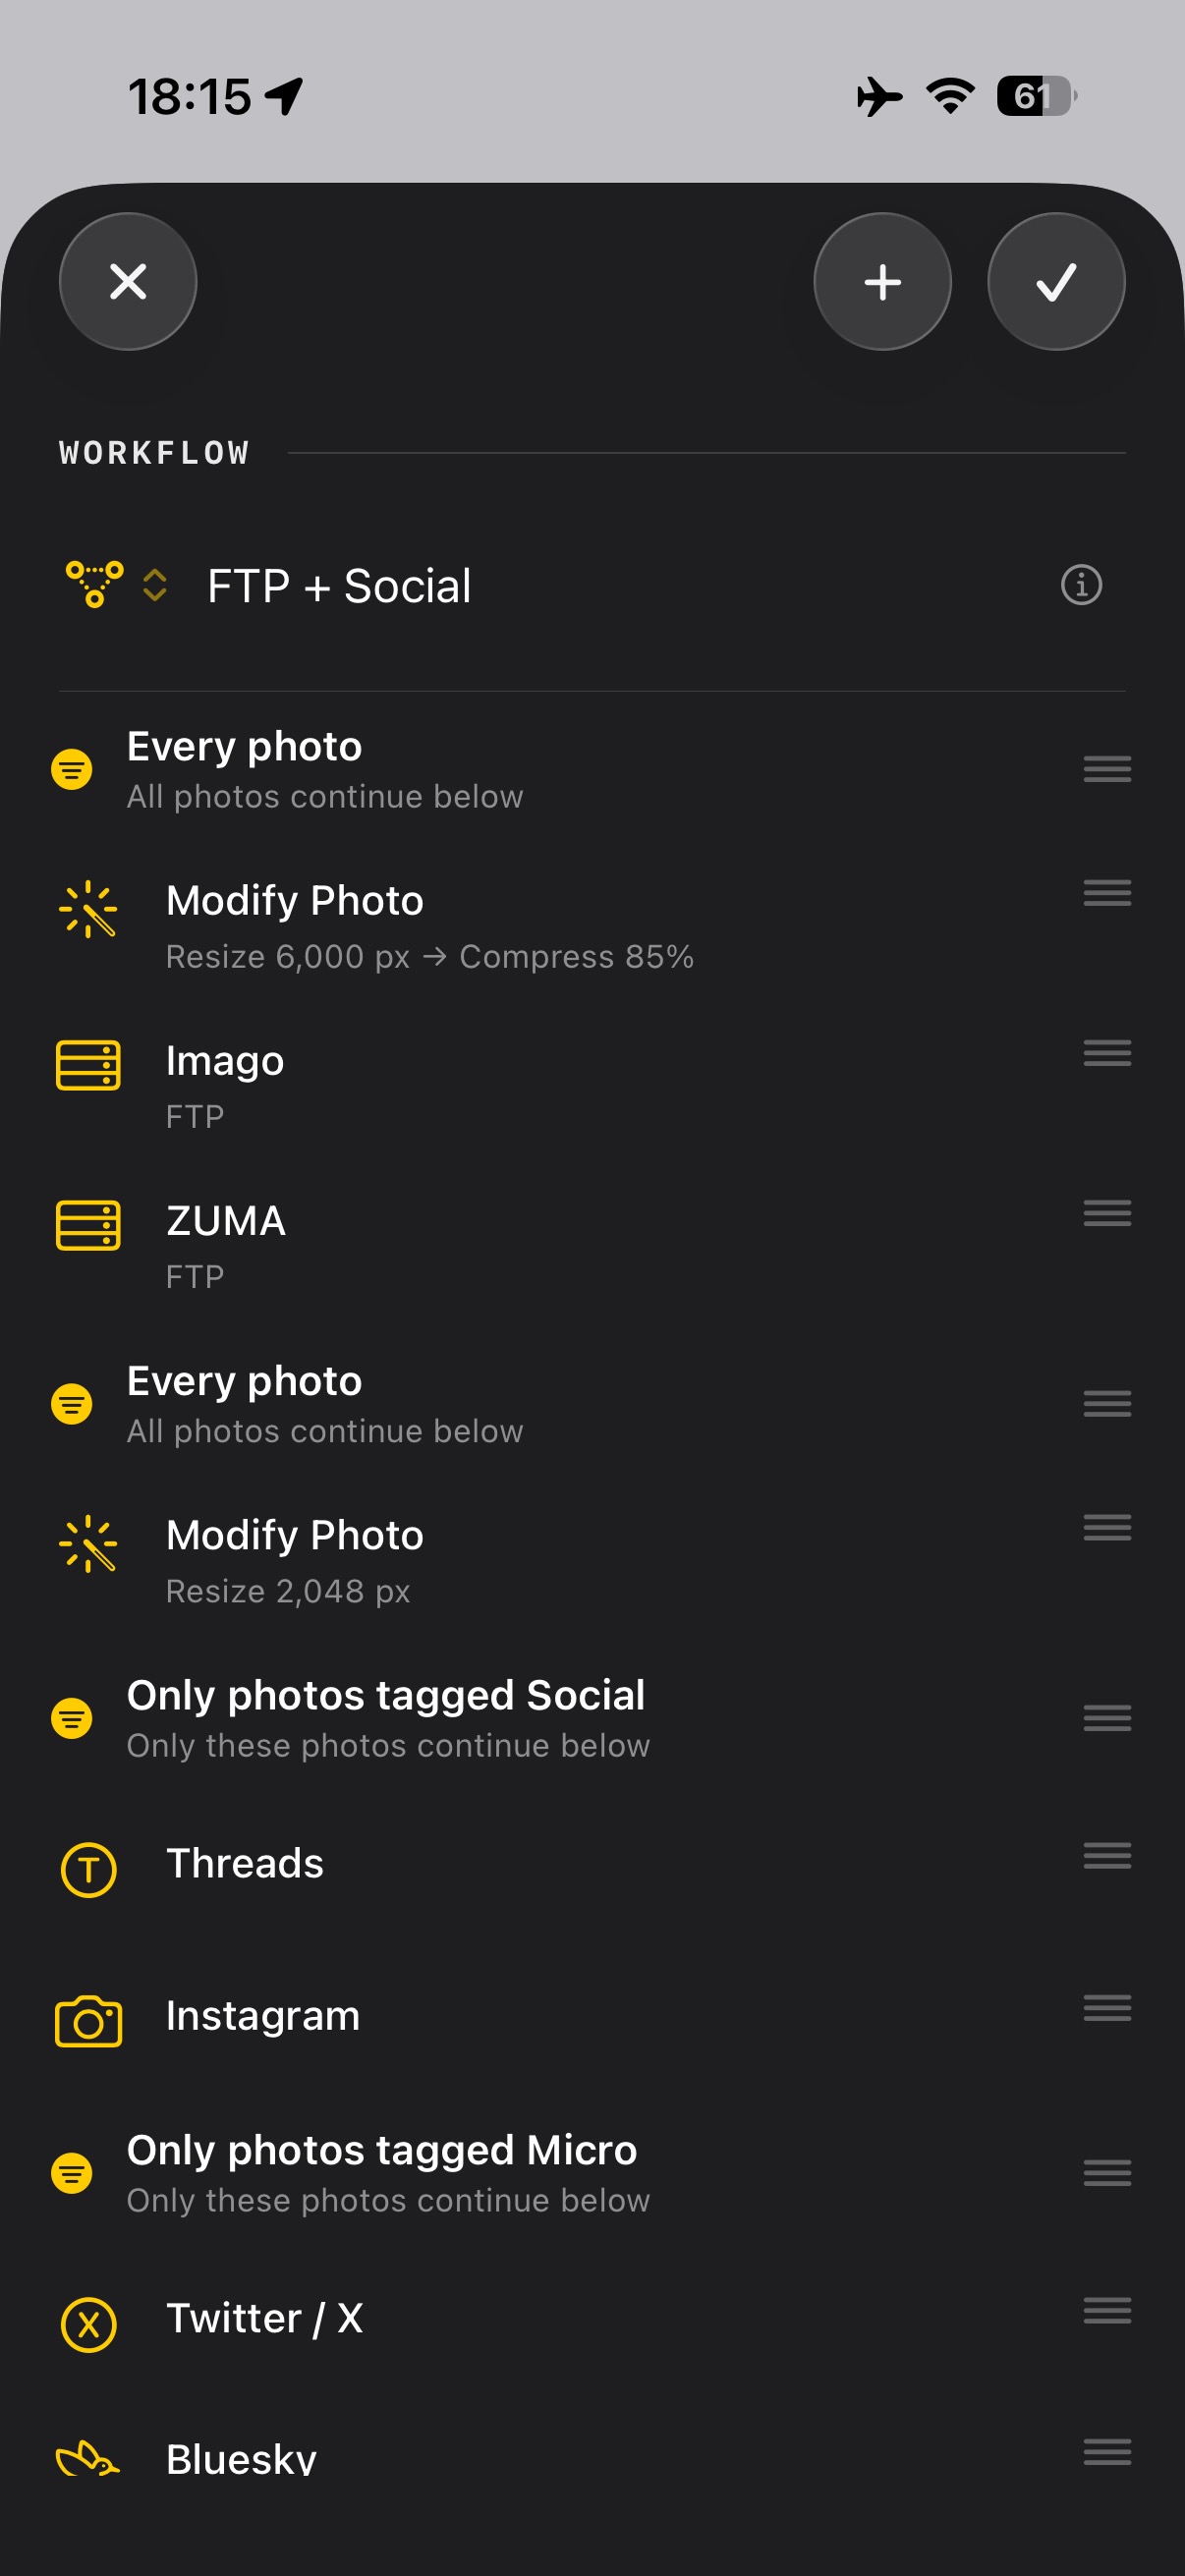
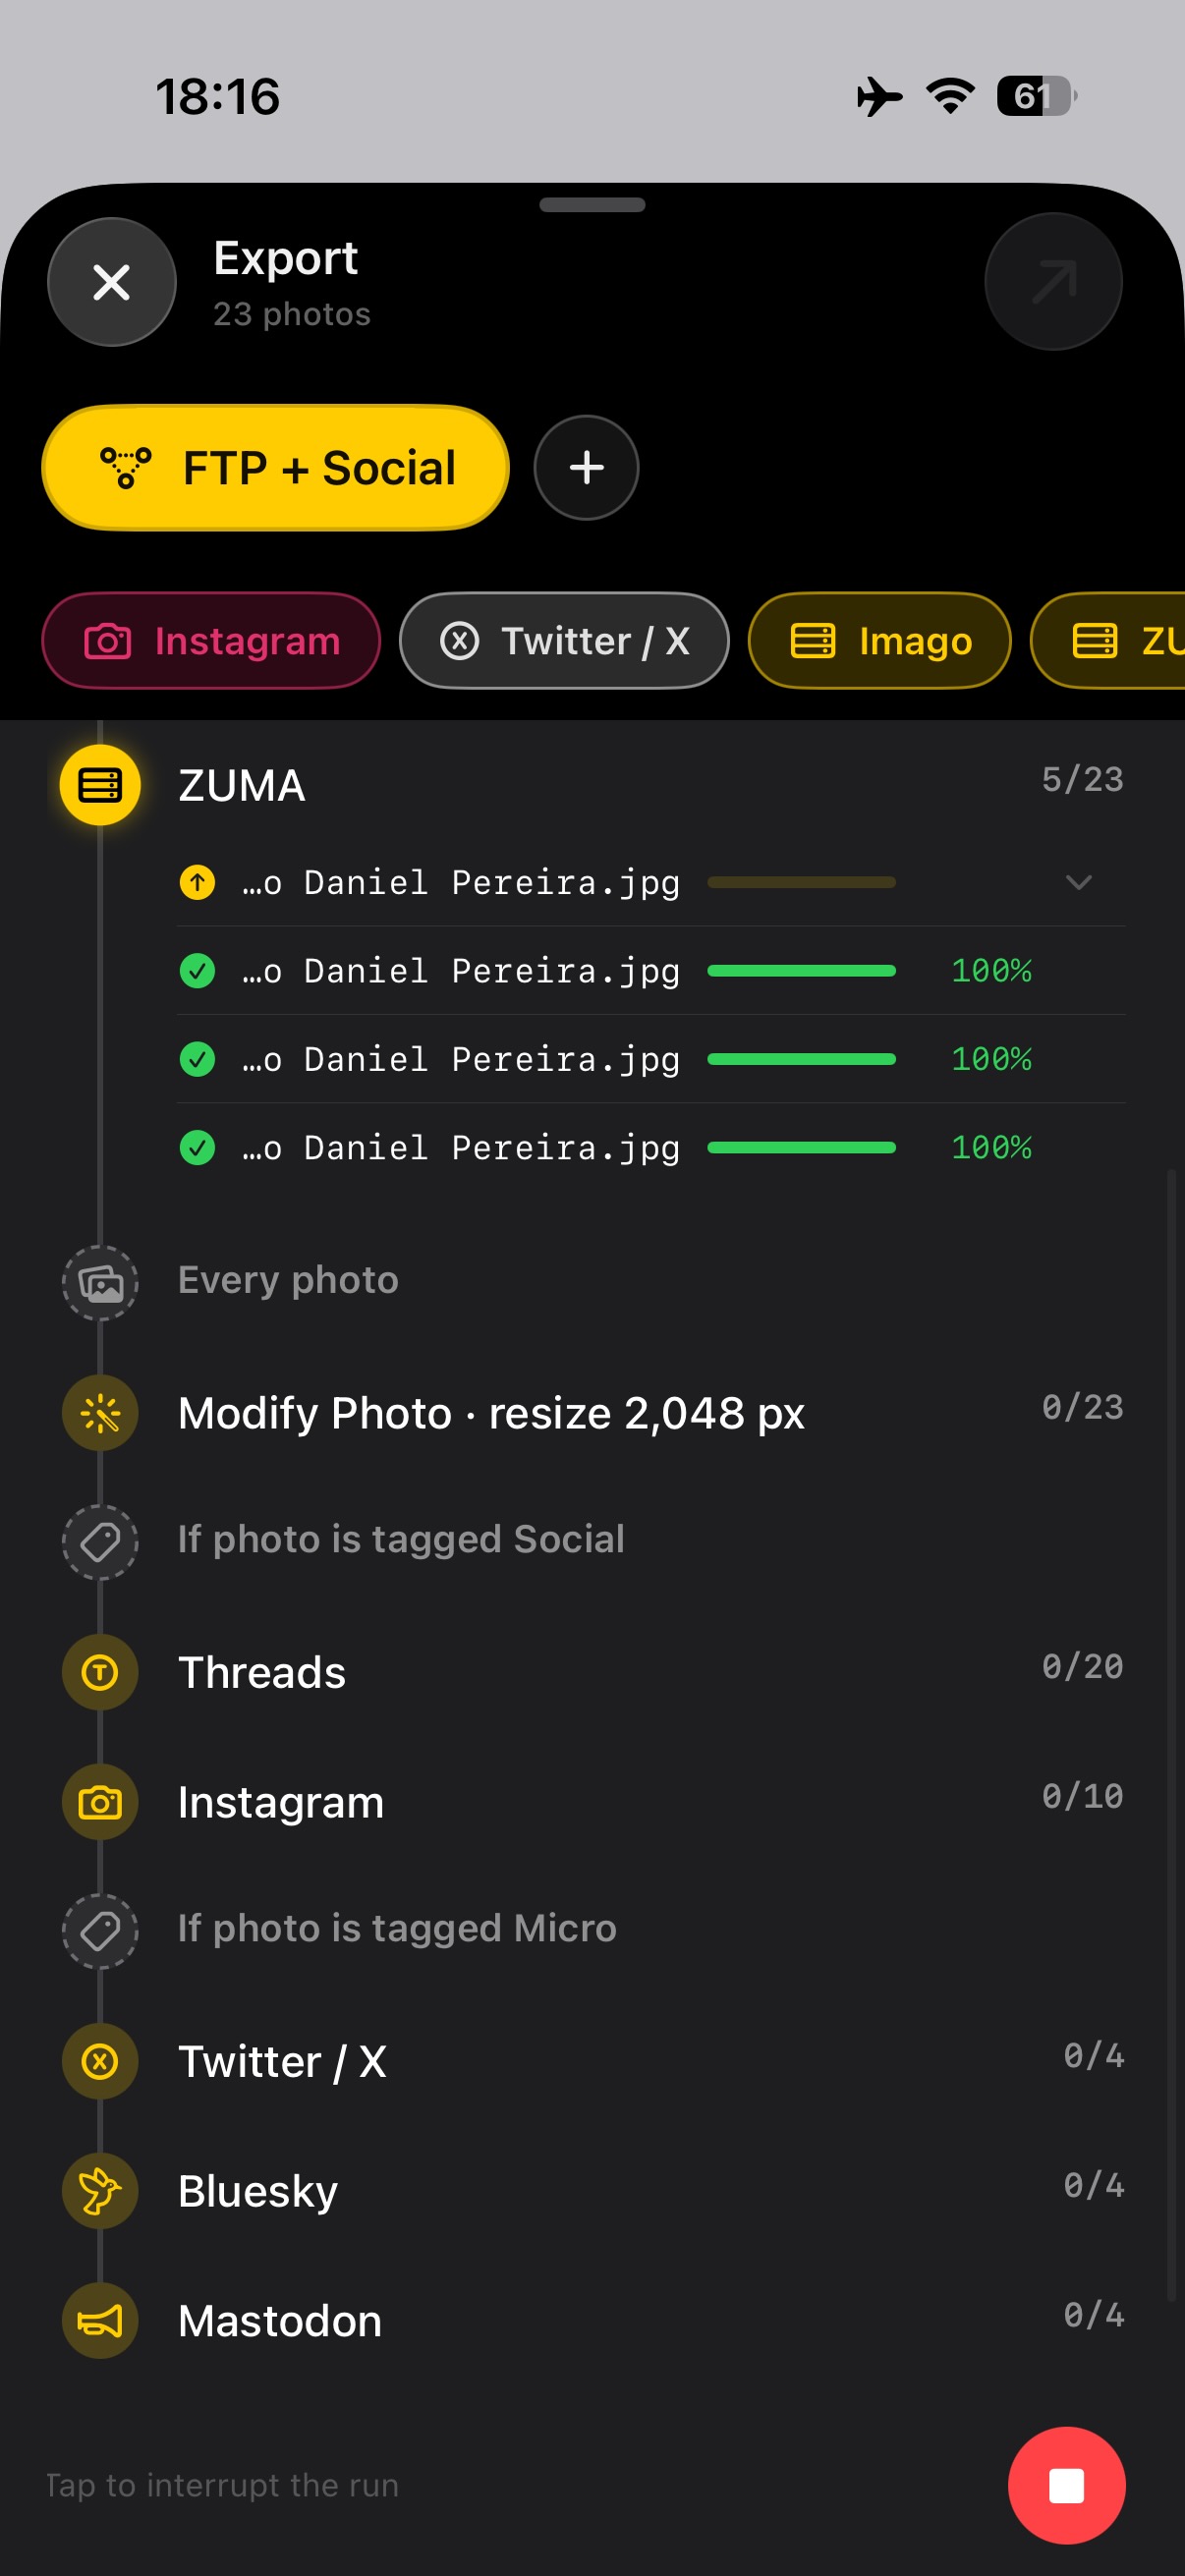
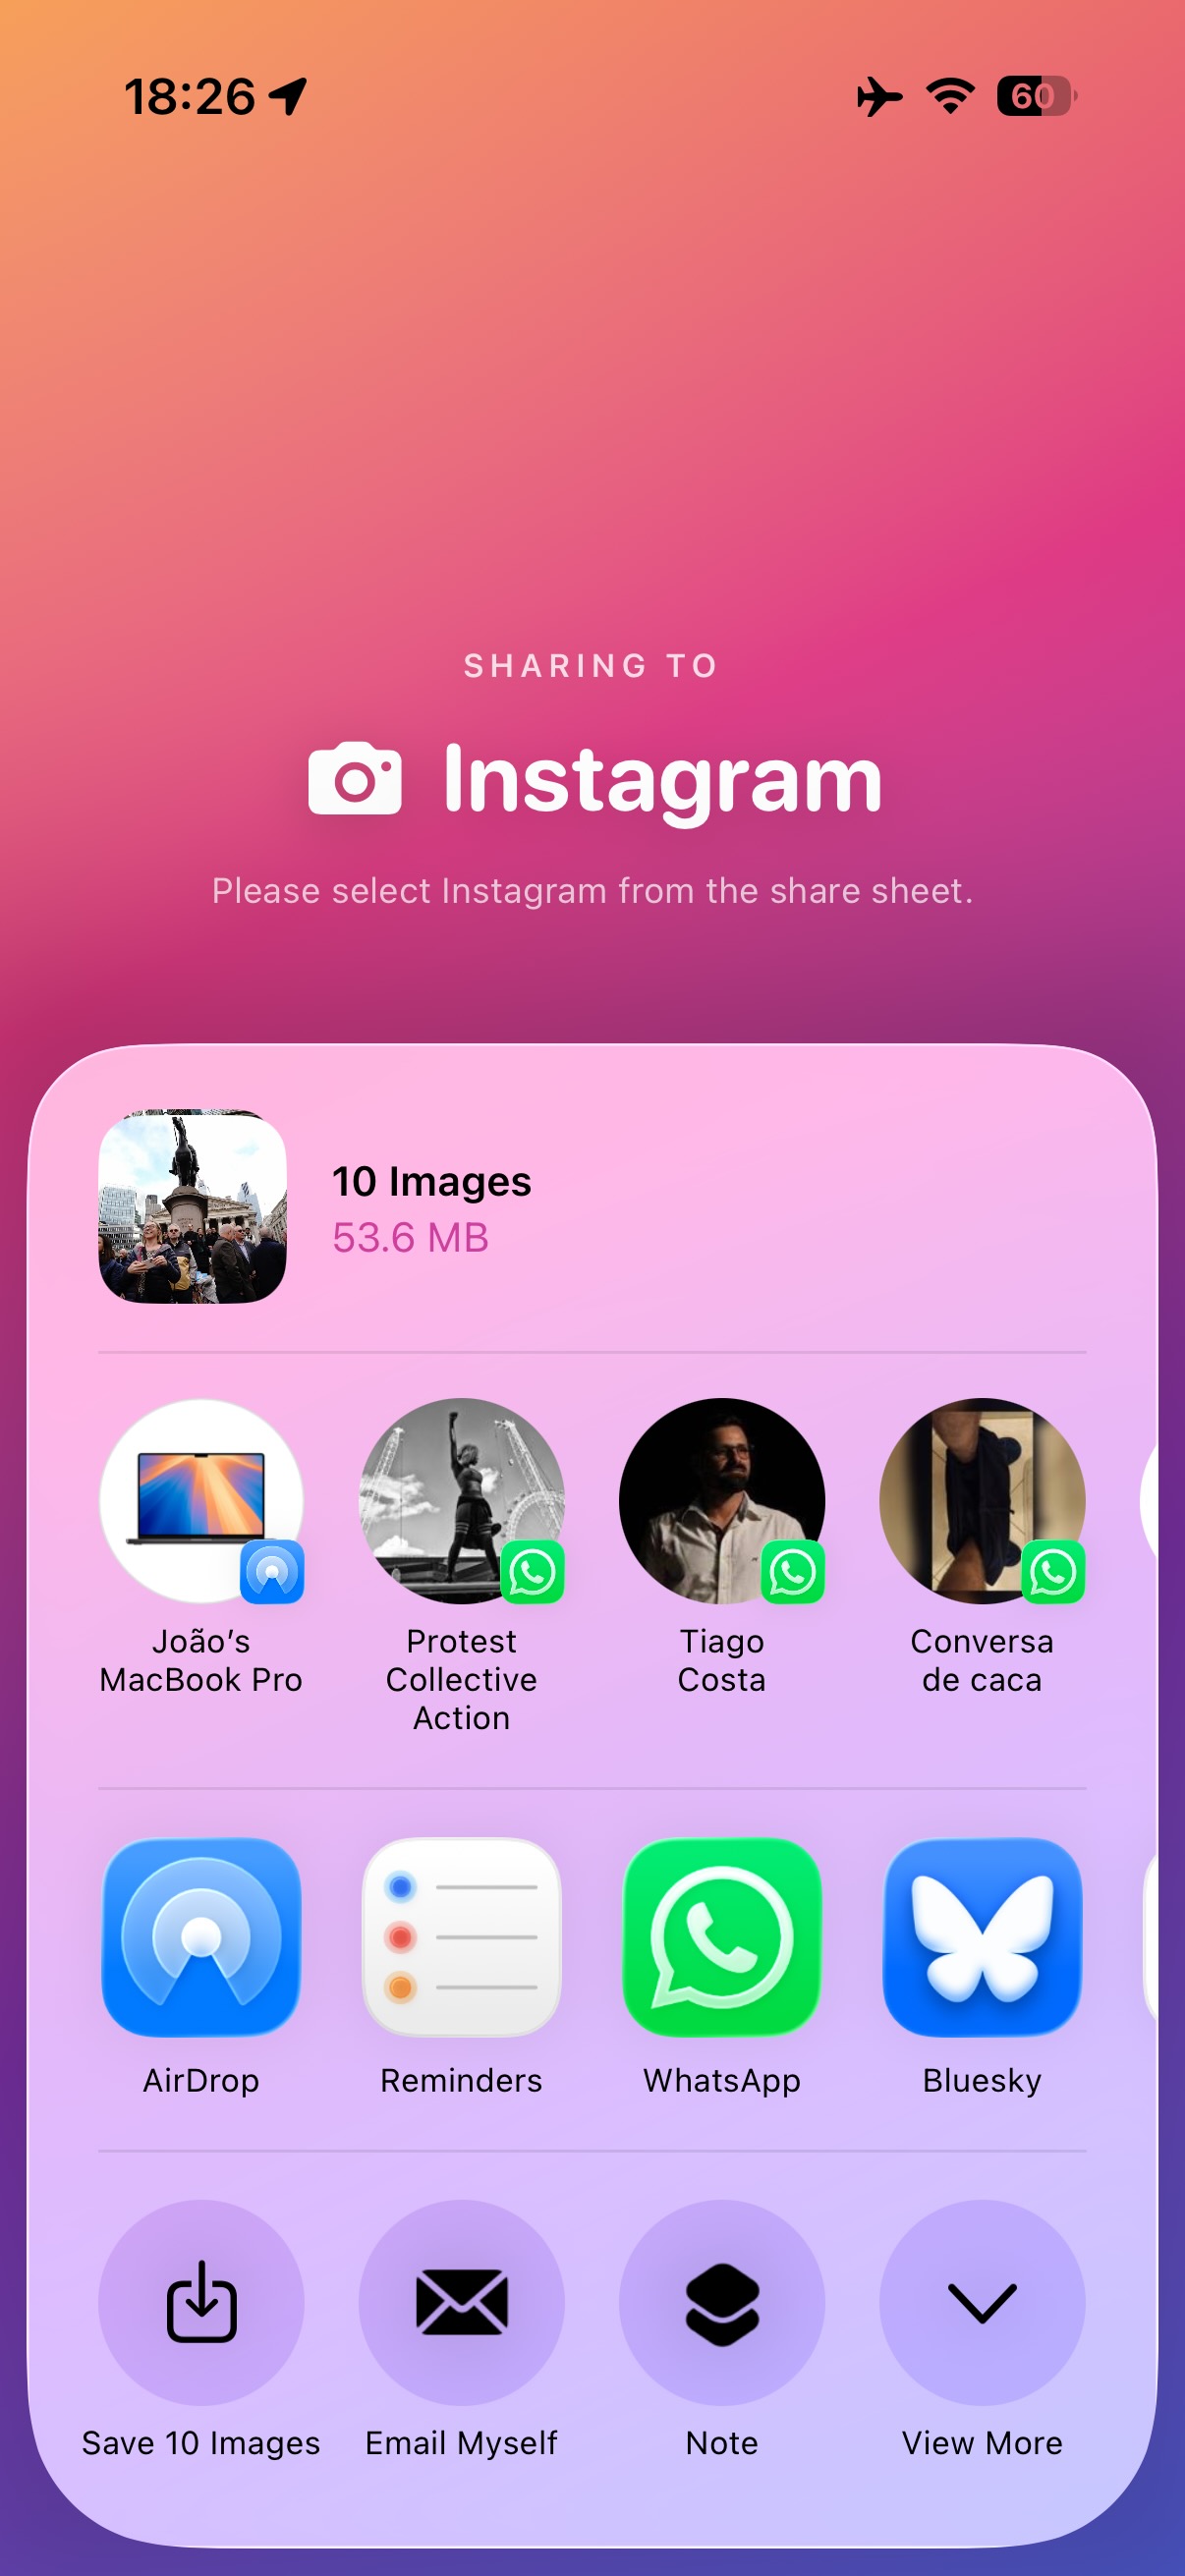
The delivery route was already saved: FTP to the wire destinations, plus a hand-off to Instagram for the social set. One tap sent each photo to the right place at the right size, and I watched every upload finish before I put the phone away. The next job uses the same route, so there is nothing to set up twice.
What changed
I stayed on the bridge. The filing happened in the same place as the photographs, while the story was still happening, instead of later at a table. That is the whole point of Dispatches: the desk comes with you.
Dispatches is on the App Store for iPhone, with a 14-day free trial. Get Dispatches · Read the step-by-step guide