How to use Dispatches
Card to client without opening a laptop. Steps 1–3 you do once, on the sofa, before your next job. Steps 4–9 are the job itself — and once your workflow is saved, the whole thing is a handful of taps.
iPhone · iOS 26 or later · about 15 minutes to set up
 Play the 2-minute walkthrough
Before you start
Five minutes of gathering now saves you fumbling in a car park later. None of it is difficult — most of it you already have written down somewhere.
- An iPhone on iOS 26 or later. Dispatches is iPhone-only for now. Mac, Windows and Android are on the list — put your name down and you'll hear when they land.
- A way to read your card. A Lightning or USB-C SD reader, or a card in a camera you can plug in. You can also import straight from your iPhone's own photo library if you shoot to the phone.
- Your filing details. Byline, credit line, copyright notice, and the contact details you want stamped on files.
- Your server details, if you file to one. Host, username, password, and the folder path. If your agency sent you setup notes in an email, keep them — you can paste the whole thing in and let the app read it.
Trial: the first 14 days are free, then £2.99/month (€2.99 in Europe, $5.99 in the US). Cancel any time from your iPhone's Settings — the support page has the exact taps.
Set up your byline once
This is the first screen after you open the app. Everything you type here gets stamped onto every photo you ever file, so it's worth doing properly — you will not have to do it again.
- Enter your photographer name, credit line and copyright notice. These become the IPTC fields picture desks actually read.
- Optionally add phone, email and website. They become the creator-contact block, so an editor can find you from the file itself.
- Search for and pick your default city. It seeds the location on every event until you change it.
- Decide about online captioning. Leave it off and captions are written on your phone. Turn it on and a consent sheet spells out exactly what leaves the device — your typed brief, the location, and one date and time for the event. Never your photos, never your identity fields, never the raw audio of your voice.
You can change all of it later in Settings, and you can save several metadata presets — one for the agency, one for direct clients — and apply whichever fits the job.

Add where you send
A "destination" is anywhere files can go: an FTP or SFTP server, an email delivery, a folder or ZIP, your camera roll, or a social account. Add the ones you use and they're there for every job after.
- Still in setup — or later, from Destinations in the navigation menu — tap to add a destination.
- For a server, either fill in host, user, password and path by hand, or paste your agency's setup notes and let the app pull the details out. Check what it parsed before you save.
- Toggle on any social channels you post to. These work as hand-offs through the share sheet, not silent uploads — see step 8.
- Tap "Set up my sending workflow" and the app assembles a real, working workflow from what you just added. Look it over; you can change every part of it in step 7.
- Grant calendar access and pick which calendars to read, if you want shoots to match themselves to the assignment in your diary. Skip it freely — nothing breaks.
Plain FTP sends your password unencrypted. If your agency offers SFTP, use it. The app will let you use plain FTP because plenty of picture desks still require it — just know which one you're on.
New to FTP? How to send photos to an FTP server from your iPhone covers what to ask your agency for and what to do when an upload fails.
Import a shoot
The point of this step is to bring in the keepers and leave the rest on the card. Filtering before the import is what keeps your phone from filling up with 900 frames you'll never use.
- Plug the card in. Dispatches notices and offers Storage connected → Open import review. Or tap Import yourself and pick a source: the phone's photo library, a single album, Files, or a folder.
- Filter before you select. By file type, star rating, flagged, favourites, aperture, shutter speed, orientation or date. Rate in-camera and you can pull only your three-star-and-up frames straight off the card. Save a combination you use often as a named preset.
- Select. Tap photos, or enter Select mode and drag across a run of them. Long-press for a bigger peek, or to grab everything from that day.
- Dispatches proposes event groupings by time and place, and matches them to your calendar where it can. Accept them, drag photos between groups, or split a group at any photo.
- If the import would create two or more events, you get a review screen first: rename them, move photos between them, or combine the lot into one.
- Shooting JPEG+RAW? A card asks whether you want both, RAW only, or JPEG only.
- Import runs with a progress card. Cancel stays live the whole time. When it finishes you land back in your library, scrolled to the new event.

Cull and rate
This is the part that usually happens on a laptop. It happens here instead, and it is built to be fast with one thumb.
- Open the event. It opens in Grid. Pinch to change thumbnail size, toggle square crops, sort by capture time or import order.
- Filter to what you're actually judging — flagged, three stars and up, or not-yet-sent.
- Double-tap a photo to go full screen. Pinch to zoom, then swipe: the zoom level and the spot you were looking at carry to the next frame, so you can compare a burst at the same magnification instead of re-zooming every time.
- Press and hold to drop the loupe on a face or an eye and check sharpness at 1:1 without leaving the frame.
- Rate as you go: drag across the stars to scrub 0–5, tap the flag, tap the colour circle. No dialogs.
- Tag photos into delivery lanes — Wire, Social, Client — with the lane chips. This is what your workflow routes on later, so a photo tagged Social goes to Instagram and one tagged Wire goes to the agency, from the same send.
- Long-press any photo for the actions card: move it to another event, tag it, select everything above or below it, copy and paste a caption or an edit onto other frames, or delete it.
- Double-tap again to drop back to the grid.

Caption the whole take
The bit everyone dreads. You describe the job out loud once, and it becomes proper IPTC on every frame in the event.
- In the event, open the Brief drawer. It never opens on its own — you ask for it.
- Optionally link a calendar entry. Its title, time, location, organiser and notes seed the brief so you're not starting from a blank box.
- Talk. Tap the mic and describe the assignment — who, what, where, when, and anything an editor needs. A live waveform shows it's hearing you. Or type, if you'd rather. Your voice is transcribed on the iPhone; the audio itself never leaves the device.
- Press Generate. You get back a headline, a caption, keywords, a location hierarchy, rights, a long-form version, and a social caption.
- Edit anything in place. It's a draft for you to correct, not an answer you're stuck with. Searching a city re-fills the whole location hierarchy from one pick.
- Tap Apply. IPTC is written onto the event's photos. Anything already stamped is skipped, with an "Apply to all" offer if you want to overwrite. If the event still has a generic name, it renames itself from your headline.
- For a frame that needs something specific — a name, a score, a detail — add a caption prefix on that photo. The final caption is your prefix plus the shared event caption.
What actually gets sent, if online captioning is on: your brief text, the event's location, and one date and time for the whole event. That's the list.
Never sent: your photos, any per-photo metadata, your name or credit or copyright, and the raw audio of your voice. With the toggle off, nothing leaves the phone at all and captions are drafted on-device. Full detail in the Privacy Policy.
More on the fields themselves: IPTC metadata on iPhone and how to write a photo caption.

Build a workflow (once)
A workflow is your filing routine, written down so you never think about it again: if a photo is tagged Wire, resize it, stamp the agency preset on it, and push it to their server; if it's tagged Social, make a square JPEG and hand it to Instagram. Build it once, run it on every job.
- Open Destinations from the navigation menu, then create a workflow — start from one of the Workflow Assistant's templates, or from empty.
- Name it and give it an icon. Agency wire, Client gallery, Same-day socials — whatever you'd call it out loud.
- A workflow is a list of condition → steps blocks. Conditions include: every photo, a delivery tag, a minimum star rating, a colour label, flagged, file type, or not-yet-sent.
- Steps include: apply a metadata preset, resize, convert colour space, compress, watermark, batch rename, adjust the photo, filter what gets exported, save to camera roll, and send to a destination.
- Long-press to drag steps into order, tap one to configure it, swipe to delete.
Start with one. A single "send my three-star-and-up frames to the agency" workflow already removes most of the work. Add the clever conditions when you notice yourself doing something twice.

Send it
One send can hit the agency server, an editor's inbox and your socials at the same time — each getting the right photos at the right size.
- From the event, press the send control to open the Export drawer.
- Tap a workflow pill to choose it. Tapping never sends anything — it shows you a preview of exactly what is about to happen, grouped under each condition. Adjust a step inline if this job is different.
- Press SEND ↑.
- If a server needs captions and some photos don't have them, you'll be offered Open brief or Send anyway before anything moves.
- Watch the run: a step-by-step timeline with per-destination progress, and a stop control if you need to pull the handbrake.
- Read the summary — sent, skipped, failed, handed off — and press Done. Anything that failed offers Send again; anything skipped as a duplicate offers to go anyway.
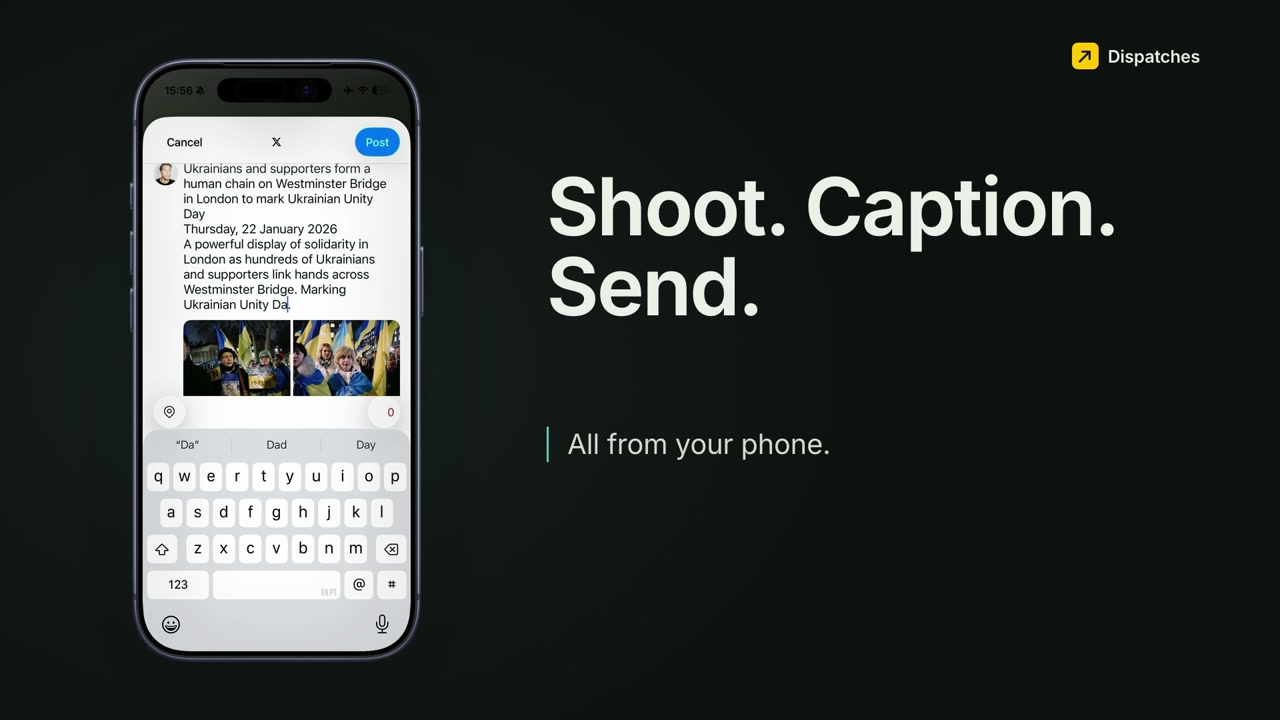
Social works differently, on purpose. Instagram, Threads, X, Facebook, Bluesky and Mastodon don't allow silent posting from another app. So Dispatches takes each one in turn: the screen fills with that network's colours, its caption goes onto your clipboard, and the share sheet opens carrying only that network's photos. You paste, post, come back — and the next one begins. Each is recorded as handed off rather than "sent", because a share sheet can't confirm you actually hit post.

Check what went out
Filing from a pavement means you want proof it landed. Four places tell you.
- Right after the run, the completion row shows counts and per-destination outcomes, with Send again and Share again.
- Over time, open the Dashboard from the navigation menu: total sends, successes, data transferred, a 30-day success-and-failure chart, and a breakdown by destination. Tap a destination to see its recent runs and re-send any failures.
- Per event, the Undelivered smart folder surfaces anything that never went out.
- Search covers uploads and history, so a filename or a destination name finds the send that carried it.
The next job is four taps
Steps 2, 3 and 7 were one-offs. This is what a job looks like once they're done — and it's the reason the app exists.
Import
Card in. Filter to your rated frames. Import.
Cull
Double-tap, swipe, drag the stars. Tag the ones that go to social.
Caption
One voice memo. Generate. Read it. Apply.
Send
Pick the workflow. Check the preview. SEND ↑.
That's the hour a day most working photographers lose to the post-shoot shuffle — done before you've left the venue.
Go further
Something not behaving?
The support page covers the common ones: a card that won't show up, the star filter looking empty when you import from your phone's library, RAW handling, a delivery that failed, cancelling your subscription, and what the AI does and doesn't send.
Still stuck?
Email goes straight to the person who built the app — not a ticket queue. Tell me what you were doing and what happened instead, and I'll get back to you.