How to send photos to an FTP server from your iPhone
The desk wants the pictures now, the laptop is at home, and the agency only takes FTP. Here is how to get captioned photos off your camera card and into the agency's folder using nothing but your iPhone.
Get four details from your agency (server address, username, password and upload folder), save them once as a destination in an iPhone app with an FTP client, import the frames off your card with a card reader, write the IPTC captions, then send. In Dispatches that last part is one saved workflow, so every job after the first is a few taps.
What FTP is, and why desks still use it
FTP (File Transfer Protocol) is the oldest standard way to upload files straight to a server. Agencies and newspapers still use it because a photographer anywhere can drop pictures directly into the desk's incoming folder, where editors pick them up straight away, with no inbox, no download link and no login screen in between.
What makes those files useful on arrival is the IPTC metadata inside them: the headline, caption, byline, credit, copyright and keywords. The desk's system reads those fields automatically, so a picture that arrives without them usually waits until someone retypes a caption. That is why "send to FTP" and "caption with IPTC" are really one job. If IPTC is new to you, read IPTC metadata on iPhone first.
Plain FTP is not encrypted. Your password and files travel as readable text. FTPS and SFTP are secure versions that encrypt the connection; if your agency offers one of them, use it. Plenty of desks still require plain FTP, so just know which one you are on.
What you need from your agency
Agencies usually send these in a setup email. You need:
- Server address (the host), such as
ftp.example.com. - Username and password.
- Upload folder, the path your pictures go into, such as
/incoming/news. - Port, if they give one. FTP normally uses 21 and SFTP 22; only change it if they tell you to.
- Any naming or size rules: a maximum long edge, a file-naming pattern, or "JPEG only".
You also need a card reader for your iPhone (USB-C or Lightning, depending on the model) and an iPhone on iOS 26 or later for Dispatches.
The job, step by step
Steps 1 and 2 are done once. Steps 3 to 6 are the job itself, and once the workflow is saved they take a few minutes on the pavement.
1. Save the agency as a destination
In Dispatches, open Destinations and add one. Either type the host, username, password and folder by hand, or paste the agency's setup email and let the app pull the details out. Check what it read before you save. You do this once; every job after uses the same destination.
2. Set up your byline once
Enter your name, credit line and copyright notice when the app first opens (or later in Settings). These are stamped into every photo you send, so the desk always knows whose picture it is. You can keep several presets, one per agency or client. More in the guide.
3. Import only the frames you want
Plug the card reader in and start an import. Filter before you select: by star rating, flag, file type and more, so the frames you rated in camera come across and the rest stay on the card. Shooting RAW+JPEG? Choose both, RAW only or JPEG only. Full detail in Import a shoot.

4. Caption the take
Open the event's brief and describe the job: who, what, where, when. Type it or say it. Dispatches drafts a headline, caption and keywords; you correct anything you want, then apply it to every photo in the event as IPTC. Your byline, credit and copyright come from your preset. For a single frame that needs a name or a score, add a caption prefix to that photo. If you are not sure what makes a good caption, see how to write a photo caption.
5. Build the sending workflow (once)
A workflow is your filing routine written down: for example, "every photo rated three stars or more: resize to the agency's long edge, apply the agency preset, send to the agency's FTP destination". You can add a second destination, a social hand-off or an email to the same workflow. Build it once and reuse it on every job. See Build a workflow.
6. Send
From the event, open the export drawer and tap the workflow. Tapping shows a preview of exactly what will happen; nothing moves until you press SEND ↑. If the destination needs captions and some photos have none, you are asked to open the brief or send anyway. The run shows live progress for each destination, file by file. Stay in the app until the summary appears.

Watch it
The upload is at 1:31 in this walkthrough of a real job.
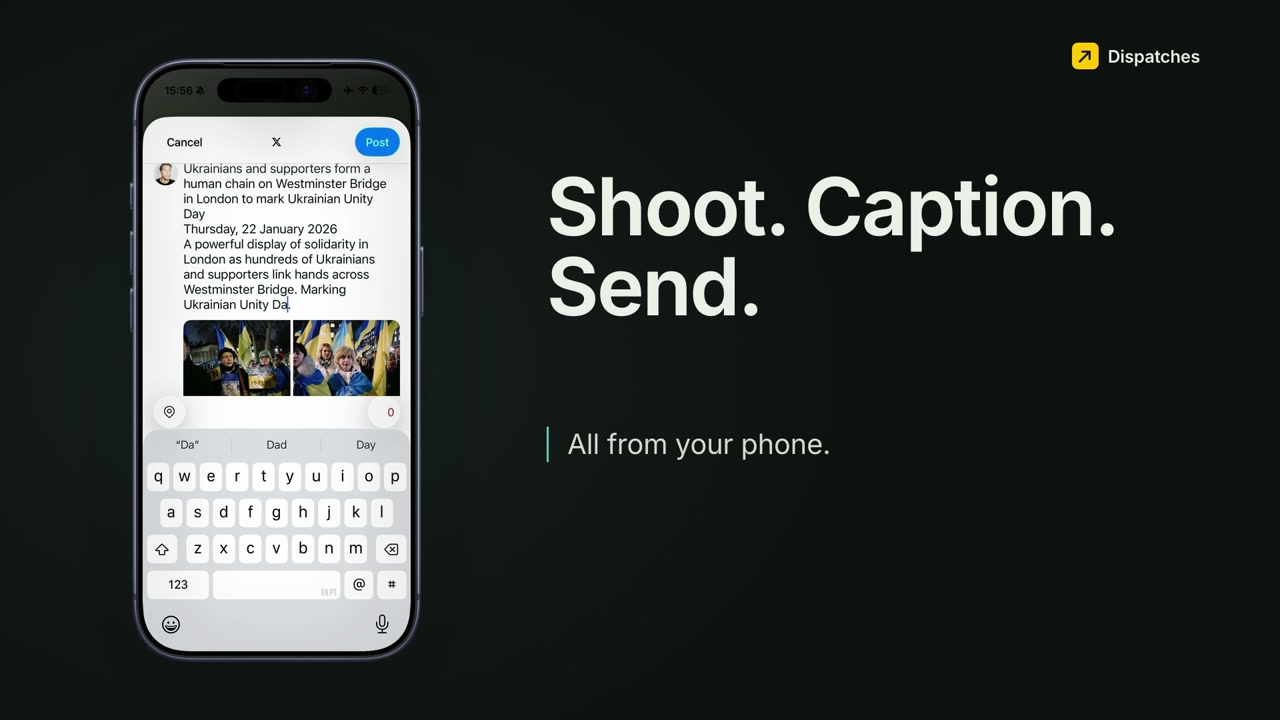 Play the walkthrough from the sending workflow
How to check it landed
- The run summary lists what was sent, skipped, failed or handed off, per destination.
- The Dashboard keeps the history: every send, its destination and its result, with a way to re-send failures.
- The Undelivered smart folder shows anything in an event that never went out.
- If the desk says nothing arrived, ask which folder they are watching. A wrong folder path is the most common cause.
When an upload fails
Almost every FTP failure is one of these:
| What you see | Usually means | Try |
|---|---|---|
| Can't connect | Wrong host or port, or no signal | Check the host has no typos or extra ftp://, confirm the port, and that you have data. |
| Login refused | Wrong username or password | Re-paste the details from the setup email; passwords are case-sensitive. |
| Connected, but the upload fails | The folder doesn't exist, or you can't write to it | Check the exact folder path with the desk. |
| Desk can't find the files | They went to a different folder | Compare your folder path with the one they are watching. |
| Stopped part-way | Signal dropped | Move to better signal and use Send again on the failed items only. |
Failed items can be retried on their own; you don't have to resend the whole take. More on the support page.
Questions
Can an iPhone upload to FTP on its own?
Not with Apple's built-in apps. The Files app's "Connect to Server" speaks SMB, not FTP, so you need an app with an FTP client. Dispatches has one, and writes the IPTC captions before it uploads.
Do the captions survive the upload?
Yes, if they are written into the file as IPTC before it goes. FTP copies the file exactly, so the caption, byline, credit and copyright arrive inside the photo.
Can I send to two agencies at once?
Yes. Add both as destinations and put both in the same workflow, each with its own preset and size if they differ.
Do I need a laptop at all?
No. Card reader, iPhone, signal. That's the whole kit. If you also post to social, see how the social hand-off works.
Keep reading
- TutorialIPTC metadata on iPhoneCaption, byline, credit and copyright: what each field is for and how to add them.
- TutorialHow to write a photo captionThe structure picture desks expect, with real examples.
- Field notesFiling a protest from Westminster BridgeThis workflow on a real job, start to finish.
Try it on your next job
Dispatches is on the App Store for iPhone (iOS 26 or later), with a 14-day free trial. The step-by-step guide covers setup in about 15 minutes.